There are few experiences more frustrating than running your heating or cooling system for hours only to feel a cold draft by the window or a stale, humid chill in the basement. You’re paying for conditioned air, but it’s literally disappearing, forcing your HVAC system to constantly struggle to meet the thermostat setting. That feeling of wasted energy is real, and it’s the direct result of a home that hasn’t been properly air-sealed.
Most homeowners think insulation is the main defense against energy loss, but the truth is that air leakage often causes a bigger problem than poor insulation does. Think of your home as a boat with a dozen small holes in the hull. You can fill the boat with towels (insulation), but the holes (air leaks) will still let water in, making the towels useless and the boat still unstable. A well-sealed home is quieter, healthier, more durable, and drastically cheaper to operate. Air sealing is the essential first step in creating a truly high-performance home, not an afterthought.
This definitive guide breaks down the science, the strategy, and the specific steps required to completely air seal your home. This approach goes far beyond simply swapping out old weatherstripping on a single door. It’s a whole-house strategy built on years of hands-on experience in building science. You’ll learn how to find the invisible air pathways that drain your bank account, what materials to use for permanent results, and why professional testing is necessary to guarantee your investment pays off.
Air leakage is the uncontrolled movement of outside air into your house and conditioned indoor air out of it through cracks and openings in the building envelope. This movement is often called infiltration and exfiltration.
Reducing the amount of air that leaks in and out of your home is considered by the Department of Energy (DOE) to be one of the most cost-effective ways to cut heating and cooling costs, improve durability, and create a healthier indoor environment. The energy-saving potential is substantial. The Environmental Protection Agency (EPA) / ENERGY STAR estimates that when you properly air seal your home and add insulation, you can save an average of 15% on heating and cooling costs. In fact, air leakage can account for anywhere between 25% and 40% of the energy used to maintain a comfortable temperature.
Many people mistakenly use the terms air sealing and insulation interchangeably, but they serve two distinct purposes:
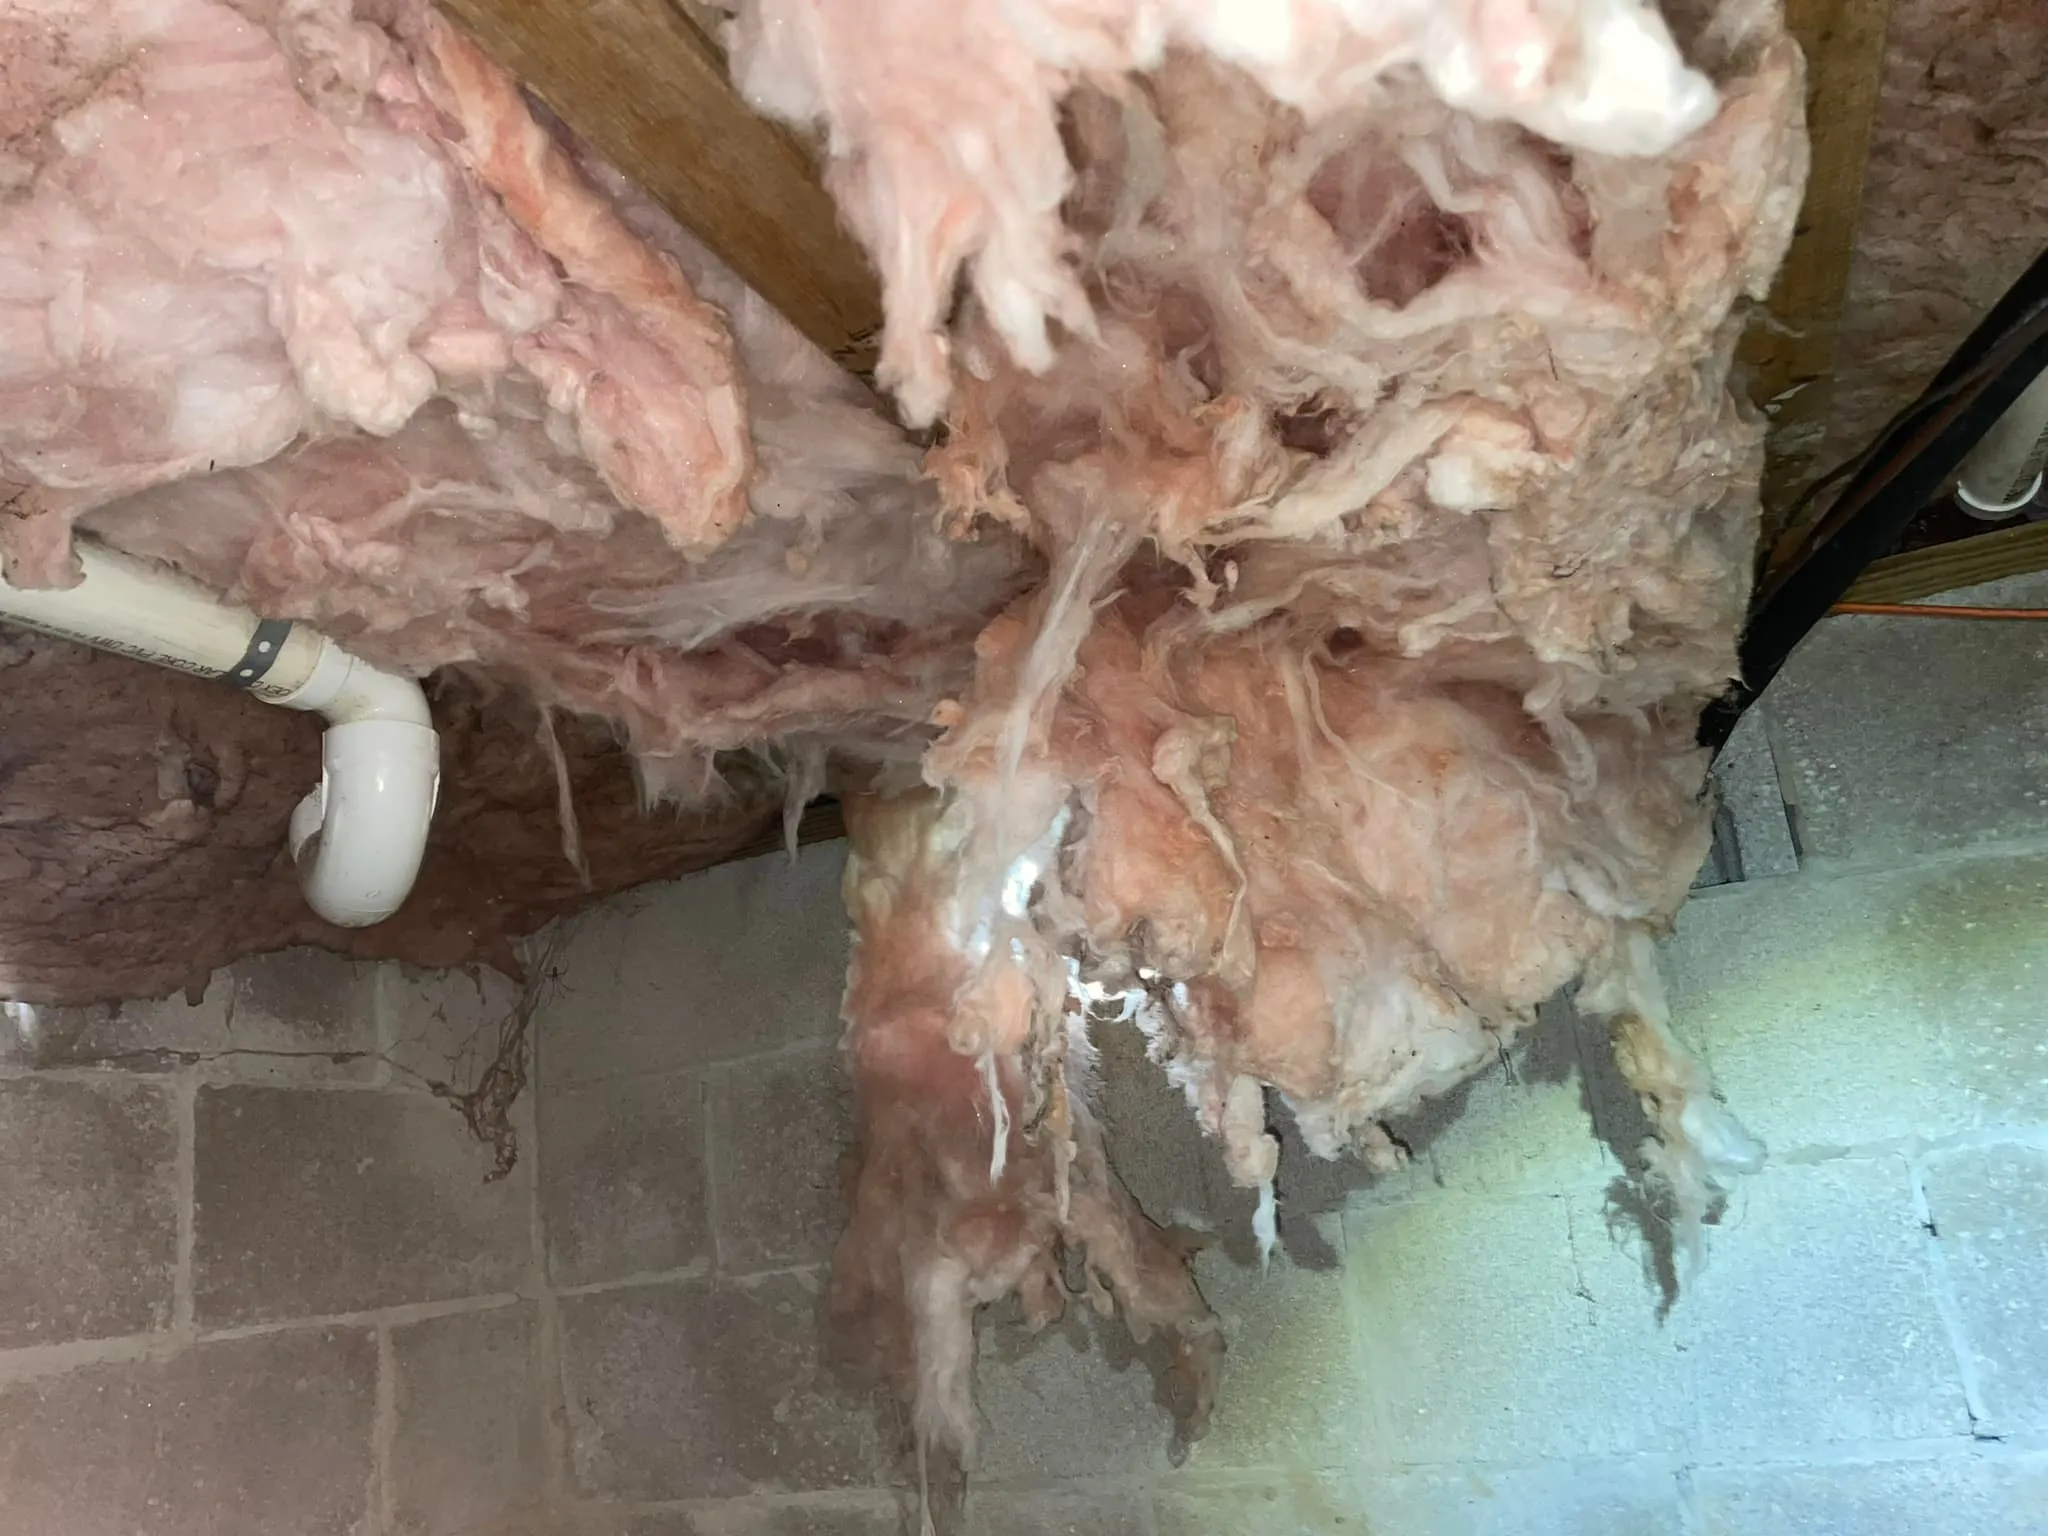
Insulation works best when it’s kept dry and still. A draft blowing through a blanket of fiberglass insulation renders it nearly useless because the moving air simply bypasses the material’s thermal resistance. This is why air sealing must always happen before or in conjunction with insulation upgrades.
Understanding how air moves through your home is the first step toward effective sealing. The primary driver of air movement in a house, especially during the heating season, is something called the Stack Effect.
When a home is heated in the winter, the warm air inside is less dense than the cold air outside. This warm air rises, much like smoke in a chimney, creating a pressure difference:
This continuous cycle dramatically increases heating and cooling demands and draws outside air—and all the pollutants, dust, and moisture that come with it—directly into your living space.
Expert Tip: The Stack Effect is strongest in tall houses and during extreme temperature differences (winter), making attic and foundation air sealing your top priorities for an immediate comfort boost. You need to stop the air from escaping up high to prevent it from being sucked in down low.
Air sealing is often the most cost-effective home improvement you can make because the benefits go beyond just saving money on your utility bills.
Energy savings are the most quantifiable benefit. As noted by the Department of Energy (DOE), sealing your home’s envelope is critical because a tight seal means your HVAC equipment doesn’t have to work as hard. Reducing this workload extends the lifespan of your furnace, air conditioner, and heat pump, delaying costly replacement and lowering maintenance frequency. You can achieve significant savings, with air sealing projects typically paying for themselves in just a few years.
When you eliminate air leaks, you eliminate drafts. This creates a more uniform temperature throughout your home, getting rid of those frustrating cold spots in the corners or near electrical outlets.
More importantly, air sealing drastically improves your indoor environment. A leaky home draws air from undesirable places, primarily attics and crawlspaces, which can be filled with insulation fibers, mold spores, and pest droppings. By blocking these entry points, you reduce the infiltration of outdoor pollutants, dust, pollen, and allergens into your home, creating a healthier living environment. For people with allergies or respiratory sensitivities, this change can be substantial.
The process also controls moisture. Air leaks can allow warm, moist indoor air to condense on cold surfaces within the wall cavity, potentially leading to mold, mildew, and rot that degrade the structure’s life expectancy. Controlling air movement is key to a durable, moisture-managed home.
Air leaks aren’t usually found in the middle of a wall or ceiling; they occur where two different building materials meet, or where mechanical systems penetrate the building envelope. Understanding the most common trouble areas is the first step in a successful DIY effort or when preparing for a professional assessment.
An industry breakdown often cited by home energy auditors shows that air leakage is not uniform, but typically centers around utility penetrations and structural joints.
| Common Leakage Area | Average Loss Contribution (Approx.) | Primary Sealing Material |
|---|---|---|
| Floors, Walls, Ceiling (Total Bypass) | 31% | Caulk, Spray Foam, Gaskets |
| Ducts (Heating/Cooling) | 15% | Mastic Sealant, Foil Tape |
| Fireplace/Chimney | 14% | Fire-resistant Caulk, Dampers/Plugs |
| Plumbing/Utility Penetrations | 13% | Low-Expansion Spray Foam |
| Doors | 11% | Weatherstripping, Door Sweeps |
| Windows | 10% | Caulk, Weatherstripping |
The attic is often considered the most critical air sealing zone because it’s where the Stack Effect pushes the greatest volume of conditioned air out of the house. Finding these leaks requires a flashlight, some patience, and a willingness to get dirty.
Key areas to seal at the attic floor (the ceiling plane of the home) include:
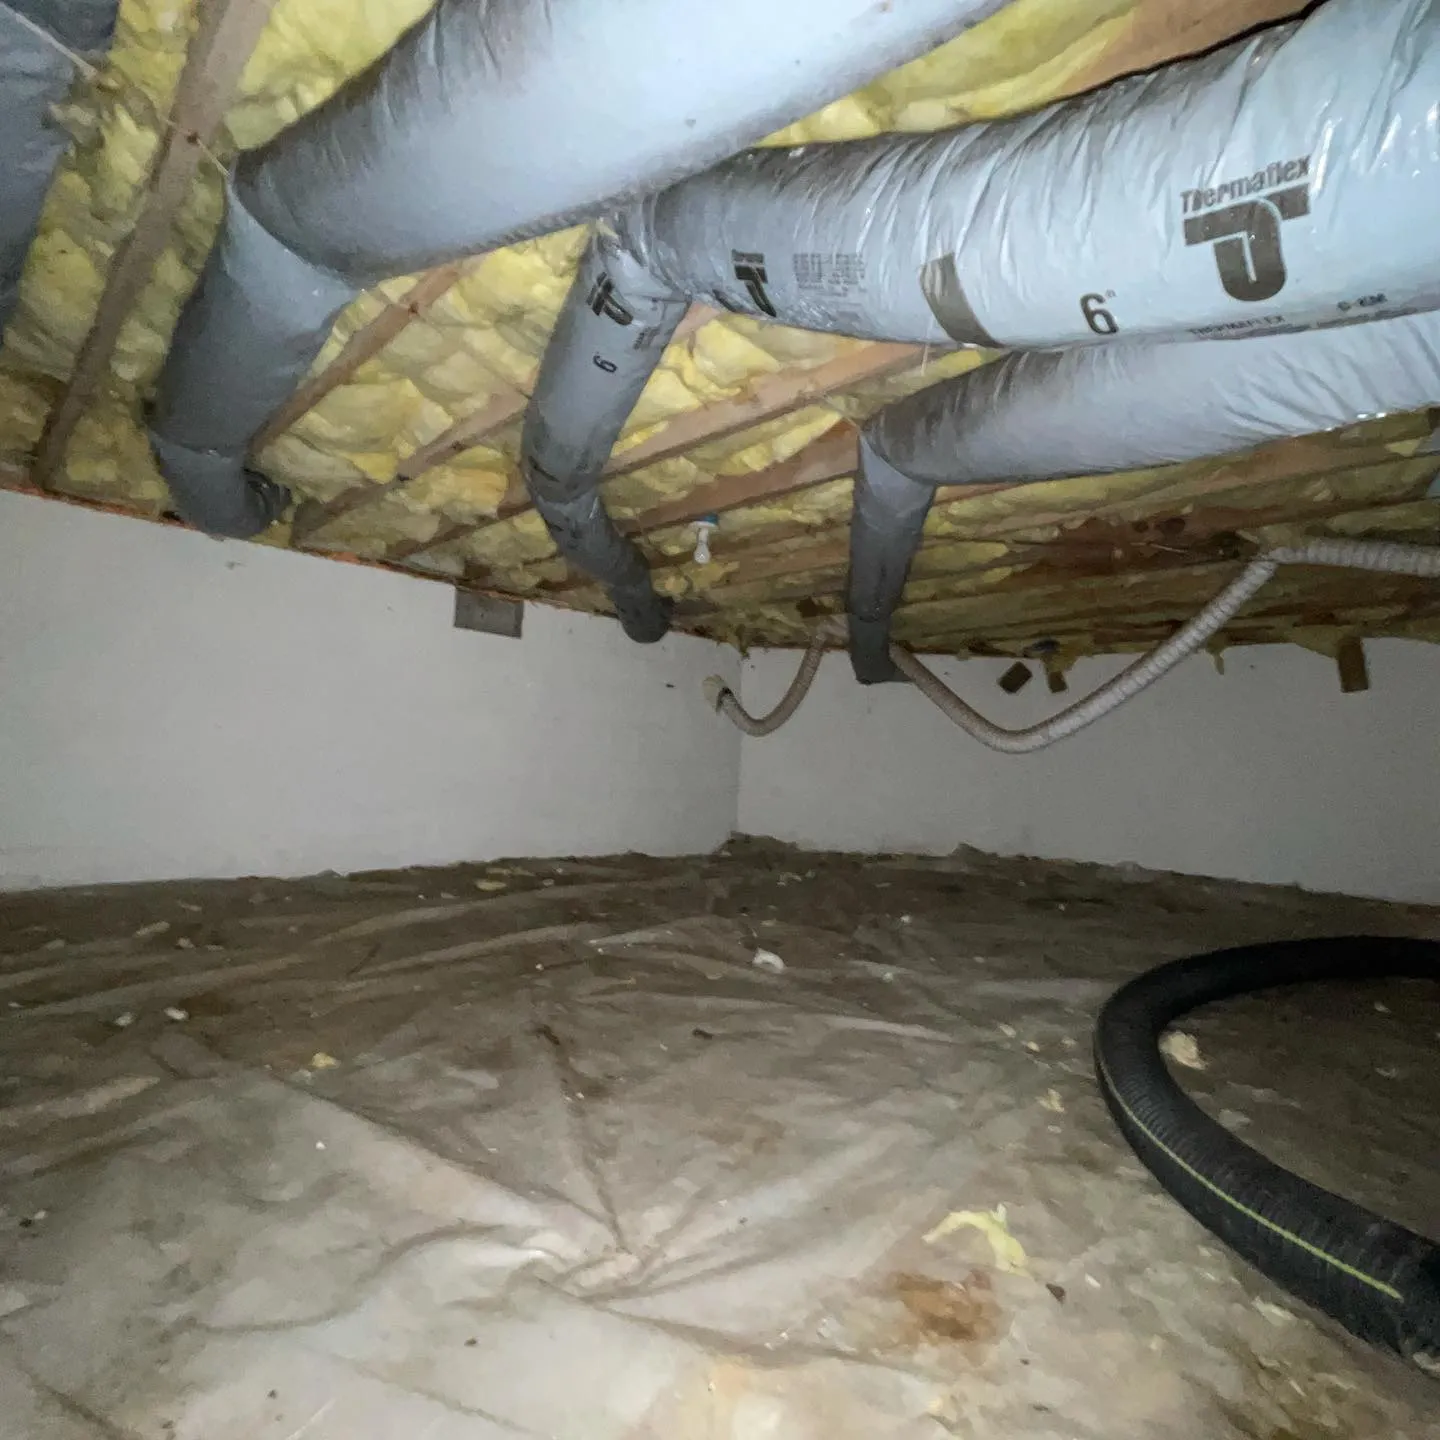
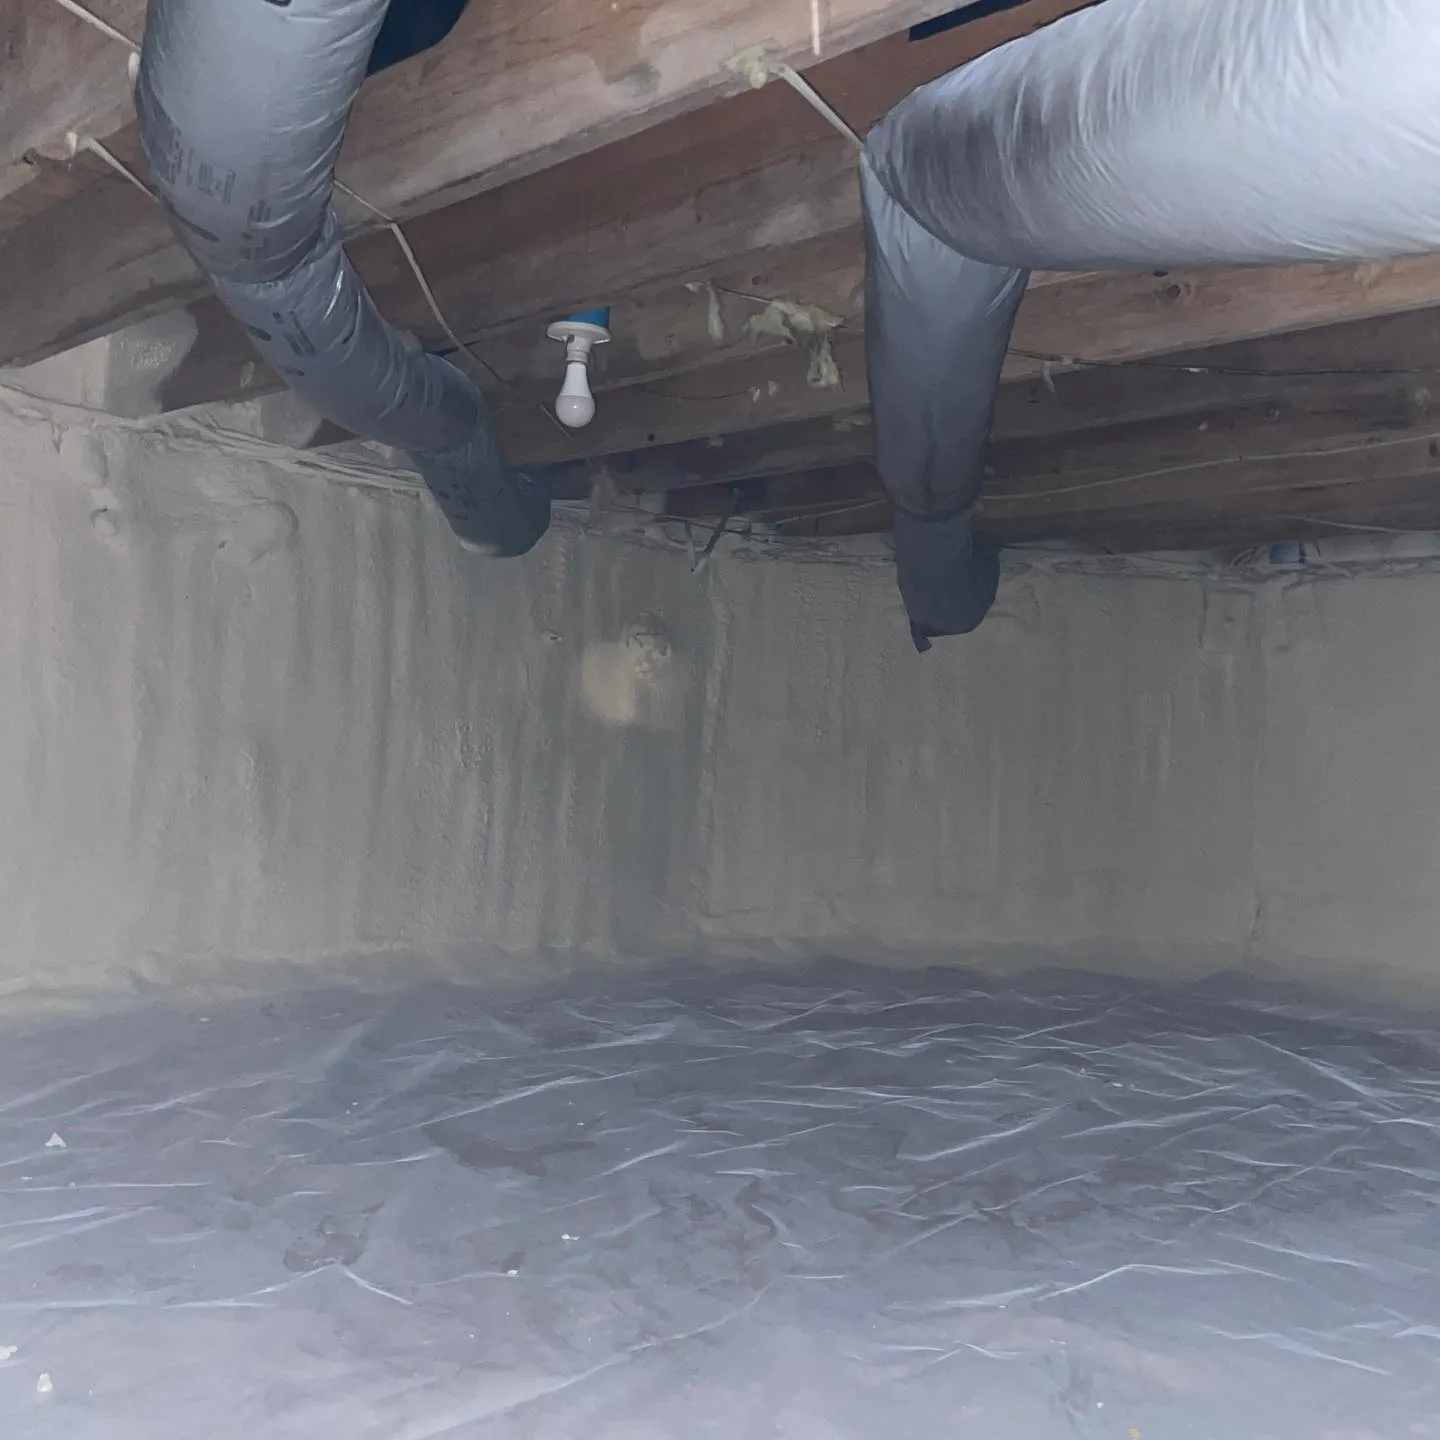
Air leaks below grade draw cold, damp, or potentially moldy air into the living space. The most significant leak here is almost always the rim joist, which is the perimeter of the floor frame that rests on the foundation wall.
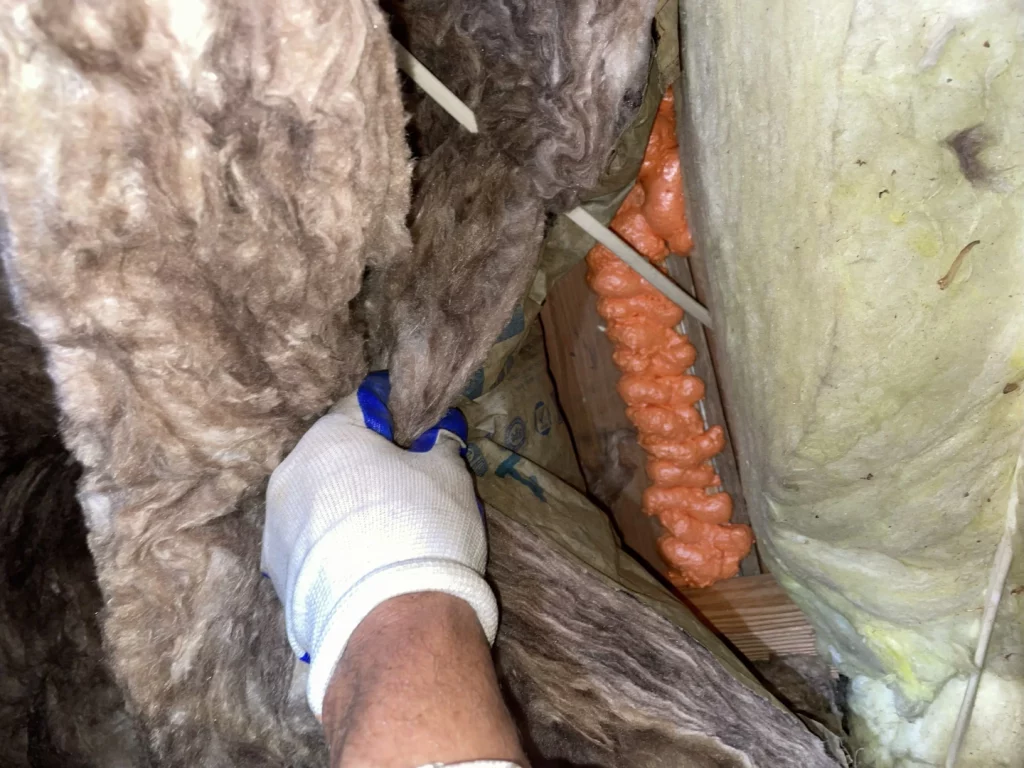
The rim joist has numerous gaps where the wood framing meets the concrete and where every floor joist meets the rim joist. These areas are vulnerable to air, moisture, and pest intrusion. A professional-grade air barrier, often spray foam insulation, is the most effective solution here, providing both an air seal and thermal barrier in one application.
The air leaks on the vertical surfaces of your home are the easiest to spot and fix.
The materials you choose depend entirely on the size of the gap and whether the components are stationary or moving. Using the wrong product can lead to a seal that fails quickly.
These are the DIY-friendly materials that offer the fastest return on investment, as documented by the Department of Energy (DOE].
| Application | Material Type | Best Use Case |
|---|---|---|
| Small, Stationary Gaps (<1/4″) | Acrylic Latex Caulk | Interior baseboards, trim, and small cracks in drywall. Easy to paint. |
| Medium, Stationary Gaps (Exterior) | Silicone/Polyurethane Caulk | Sealing window/door frames to siding, foundation cracks. Extremely durable and flexible. |
| Moving Components | Weatherstripping | Doors (bottoms, jambs), operable windows (sashes). Comes in various materials (foam, vinyl, rubber). |
| Fire-Rated Areas | Fire-Block Caulk/Sealant | Sealing around gas flues, chimney bases, and furnace vents. |
Expert Tip: Before applying any caulk or sealant, be sure the surface is clean, dry, and free of loose paint or debris. A bond to dust is a bond that will fail. Also, don’t use caulk for gaps wider than a pencil eraser it will shrink and pull away quickly.
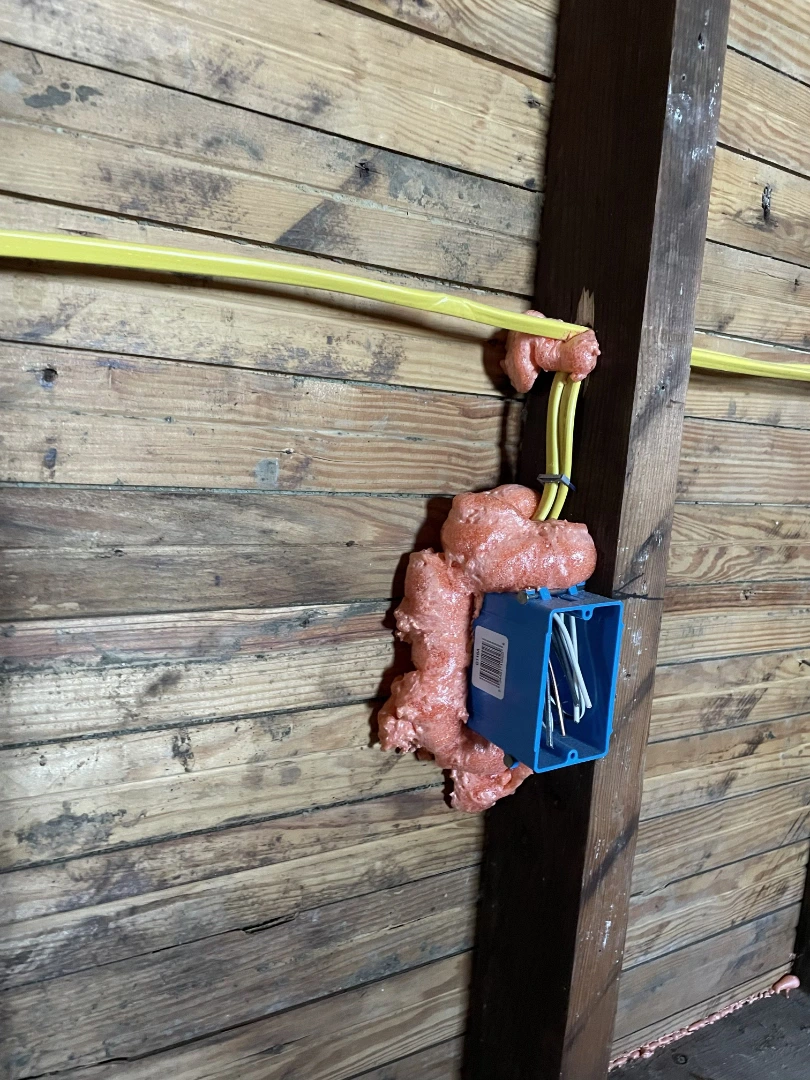
For larger gaps and major penetrations, spray foam sealants provide a permanent solution that is both an air seal and often a decent thermal barrier.
Key Takeaways: Air Sealing Materials
The most impactful air sealing is not a random collection of DIY projects but a deliberate, strategic process based on building science. This approach ensures maximum energy savings and prevents unintended consequences, like moisture problems.
You can’t seal what you can’t find. The first step is always to accurately identify and measure the extent of air leakage.
The Blower Door Test: A professional home energy audit uses a blower door test. A large, temporary fan is placed in an exterior doorway, and all other exterior openings are sealed. The fan depressurizes the house, pulling outside air in through all the cracks and gaps. Technicians then use instruments (like thermal cameras and smoke pencils) to physically locate and quantify the leaks.
The blower door provides a crucial metric: Air Changes per Hour at 50 Pascals (ACH50). This number tells you exactly how leaky your home is, providing a baseline measurement. Without this number, you are sealing blind.
The goal of a professional project is to reduce the total size of the effective air leak area as much as possible, focusing on the zones that have the greatest impact on energy loss and comfort.
Applying the materials requires attention to detail. This is where professional experience pays off, ensuring a durable, continuous air barrier is created.
Sealing a house tightly without proper mechanical ventilation is a safety risk and a comfort issue. When you significantly reduce uncontrolled air leakage, you must account for fresh air.
Expert Tip: Never install an HRV or ERV until the air sealing work is complete and tested. The purpose of a ventilator is to handle the controlled air exchange, but it will be overwhelmed (and ineffective) if uncontrolled leaks remain.
While the strategic process is crucial, some areas require specific knowledge and materials.
The decision on where to air seal and insulate usually depends on whether you want the attic to be a conditioned (temperature-controlled) space or an unconditioned space.
The performance of your HVAC system is heavily dependent on the air tightness of the ductwork, especially if the ducts run through unconditioned space like a crawlspace or attic. ENERGY STAR states that leaky ducts can reduce system efficiency by as much as 20 percent. The primary benefit of duct sealing is that it ensures your conditioned air actually reaches the room it’s supposed to cool or heat.
| Duct Sealing Material | Pros | Cons |
|---|---|---|
| Mastic Sealant | Highly durable, permanent, cost-effective, great adhesion. Creates a continuous seal. | Messy to apply, requires curing time. |
| Foil-Backed Tape (UL-Listed) | Easy to apply, clean appearance. | Lower durability than mastic over time, only effective on seams. Avoid regular “duct tape!” |
| Aerosol-Based Sealing | Excellent for small, inaccessible leaks (pinholes) throughout the entire system. | Requires specialized equipment and professional application. |
Expert Tip: When sealing the rim joist, use closed-cell spray foam for a perfect, moisture-resistant air and thermal barrier. This combined approach is faster and more permanent than trying to caulk and then insulate the numerous gaps.
The ultimate proof of a successful air sealing project lies in measurable results: comfort and savings. Air sealing and insulation improvements often pay for themselves in just a few years, a fact supported by data from the Environmental Protection Agency (EPA) / ENERGY STAR.
While it’s difficult to isolate air sealing savings from other factors (like insulation or new equipment), the pre- and post-Blower Door test results give you a direct measure of your air leakage reduction. A professional will use this reduction in ACH50, combined with your home’s size and local weather data, to create a specific estimate of annual energy saved.
Air sealing makes a bigger difference in older, leakier homes. Studies show that a strategic air sealing and insulation upgrade in an existing home can lead to energy waste reductions of up to 45%.
Key Takeaways: Measuring Success
The sign of a truly comprehensive air sealing job is the willingness to conduct a second Blower Door test after the work is finished. This final test verifies that the ACH50 is now within an acceptable range and confirms that the thousands of small gaps have been successfully sealed.
It’s the only way to know you’ve paid for a result, not just a process. This step is a standard offering for professional performance contractors like Peninsula Insulation, LLC, because it provides irrefutable proof of quality and guarantees the comfort and energy savings you invested in.
The key to unlocking home comfort and energy savings isn’t just installing the newest, most expensive HVAC unit; it’s treating the home as a system. Air sealing is the foundation of that system. It stops energy waste at its source, allowing every other component—your insulation, your furnace, your air conditioner—to operate at peak efficiency.
Start with an accurate assessment, prioritize the major leakage zones (attic and foundation), and then apply the right materials for a permanent seal. Whether you choose to tackle small, accessible leaks yourself or hire an expert for a whole-house performance strategy, a tighter home is a healthier, more comfortable, and cheaper home to own. Use this guide as your permanent reference as you move forward.
Taking a strategic, whole-house approach to air sealing requires specialized knowledge and equipment, especially for the crucial blower door testing and combustion safety checks. For homeowners looking for a proven, professional solution on the Eastern Shore, the team at Peninsula Insulation, LLC has the experience to diagnose and fix air leakage problems permanently.
We offer comprehensive home energy assessments and full-service air sealing and insulation strategies. Get in touch to schedule your assessment and take the first step toward a high-performance home. You can reach us via email at wil@mdsprayfoam.net or by phone at (410) 770-2624 for a professional consultation.
The most important areas are at the top and bottom of your house: the attic floor and the rim joists/foundation. This is because of the Stack Effect, which causes warm air to escape through the attic and cold air to be sucked in through the foundation to replace it. Sealing these two zones breaks the cycle and provides the biggest comfort improvement.
It is nearly impossible to make a typical existing home “too tight” with air sealing alone. However, significantly reducing air leakage does mean you can no longer rely on uncontrolled leaks for fresh air. Once a home is tightly sealed, you must introduce controlled, mechanical ventilation, like an ERV or HRV system, to ensure healthy indoor air quality.
You should always air seal before or at the same time as insulating. Air sealing materials block the flow of air. Insulation materials slow the flow of heat. Applying new insulation over unsealed cracks is a waste of money because the drafts will significantly compromise the insulation’s effectiveness.
The cost varies widely based on the home’s size, age, and existing leakage rate (measured by the blower door test). Projects that include a comprehensive air sealing package along with insulation upgrades can cost several thousand dollars, but the investment is quickly recovered through energy savings. Simple, targeted DIY sealing can cost a few hundred dollars.
Yes, absolutely. If your ductwork runs through an unconditioned attic or crawlspace, the leaks are costing you significant money and comfort. Leaky supply ducts blow expensive conditioned air into the attic, and leaky return ducts suck hot attic air into your system, raising your utility bills unnecessarily. The ENERGY STAR (Duct Sealing) program notes that leaky ducts can reduce system efficiency by up to 20 percent.
The only way to verify success is with a post-sealing Blower Door test. This test will give you a new ACH50 score, which provides a hard number for the reduction in air leakage. You should also notice an immediate improvement in comfort, fewer drafts, and a reduction in your heating and cooling bills.

