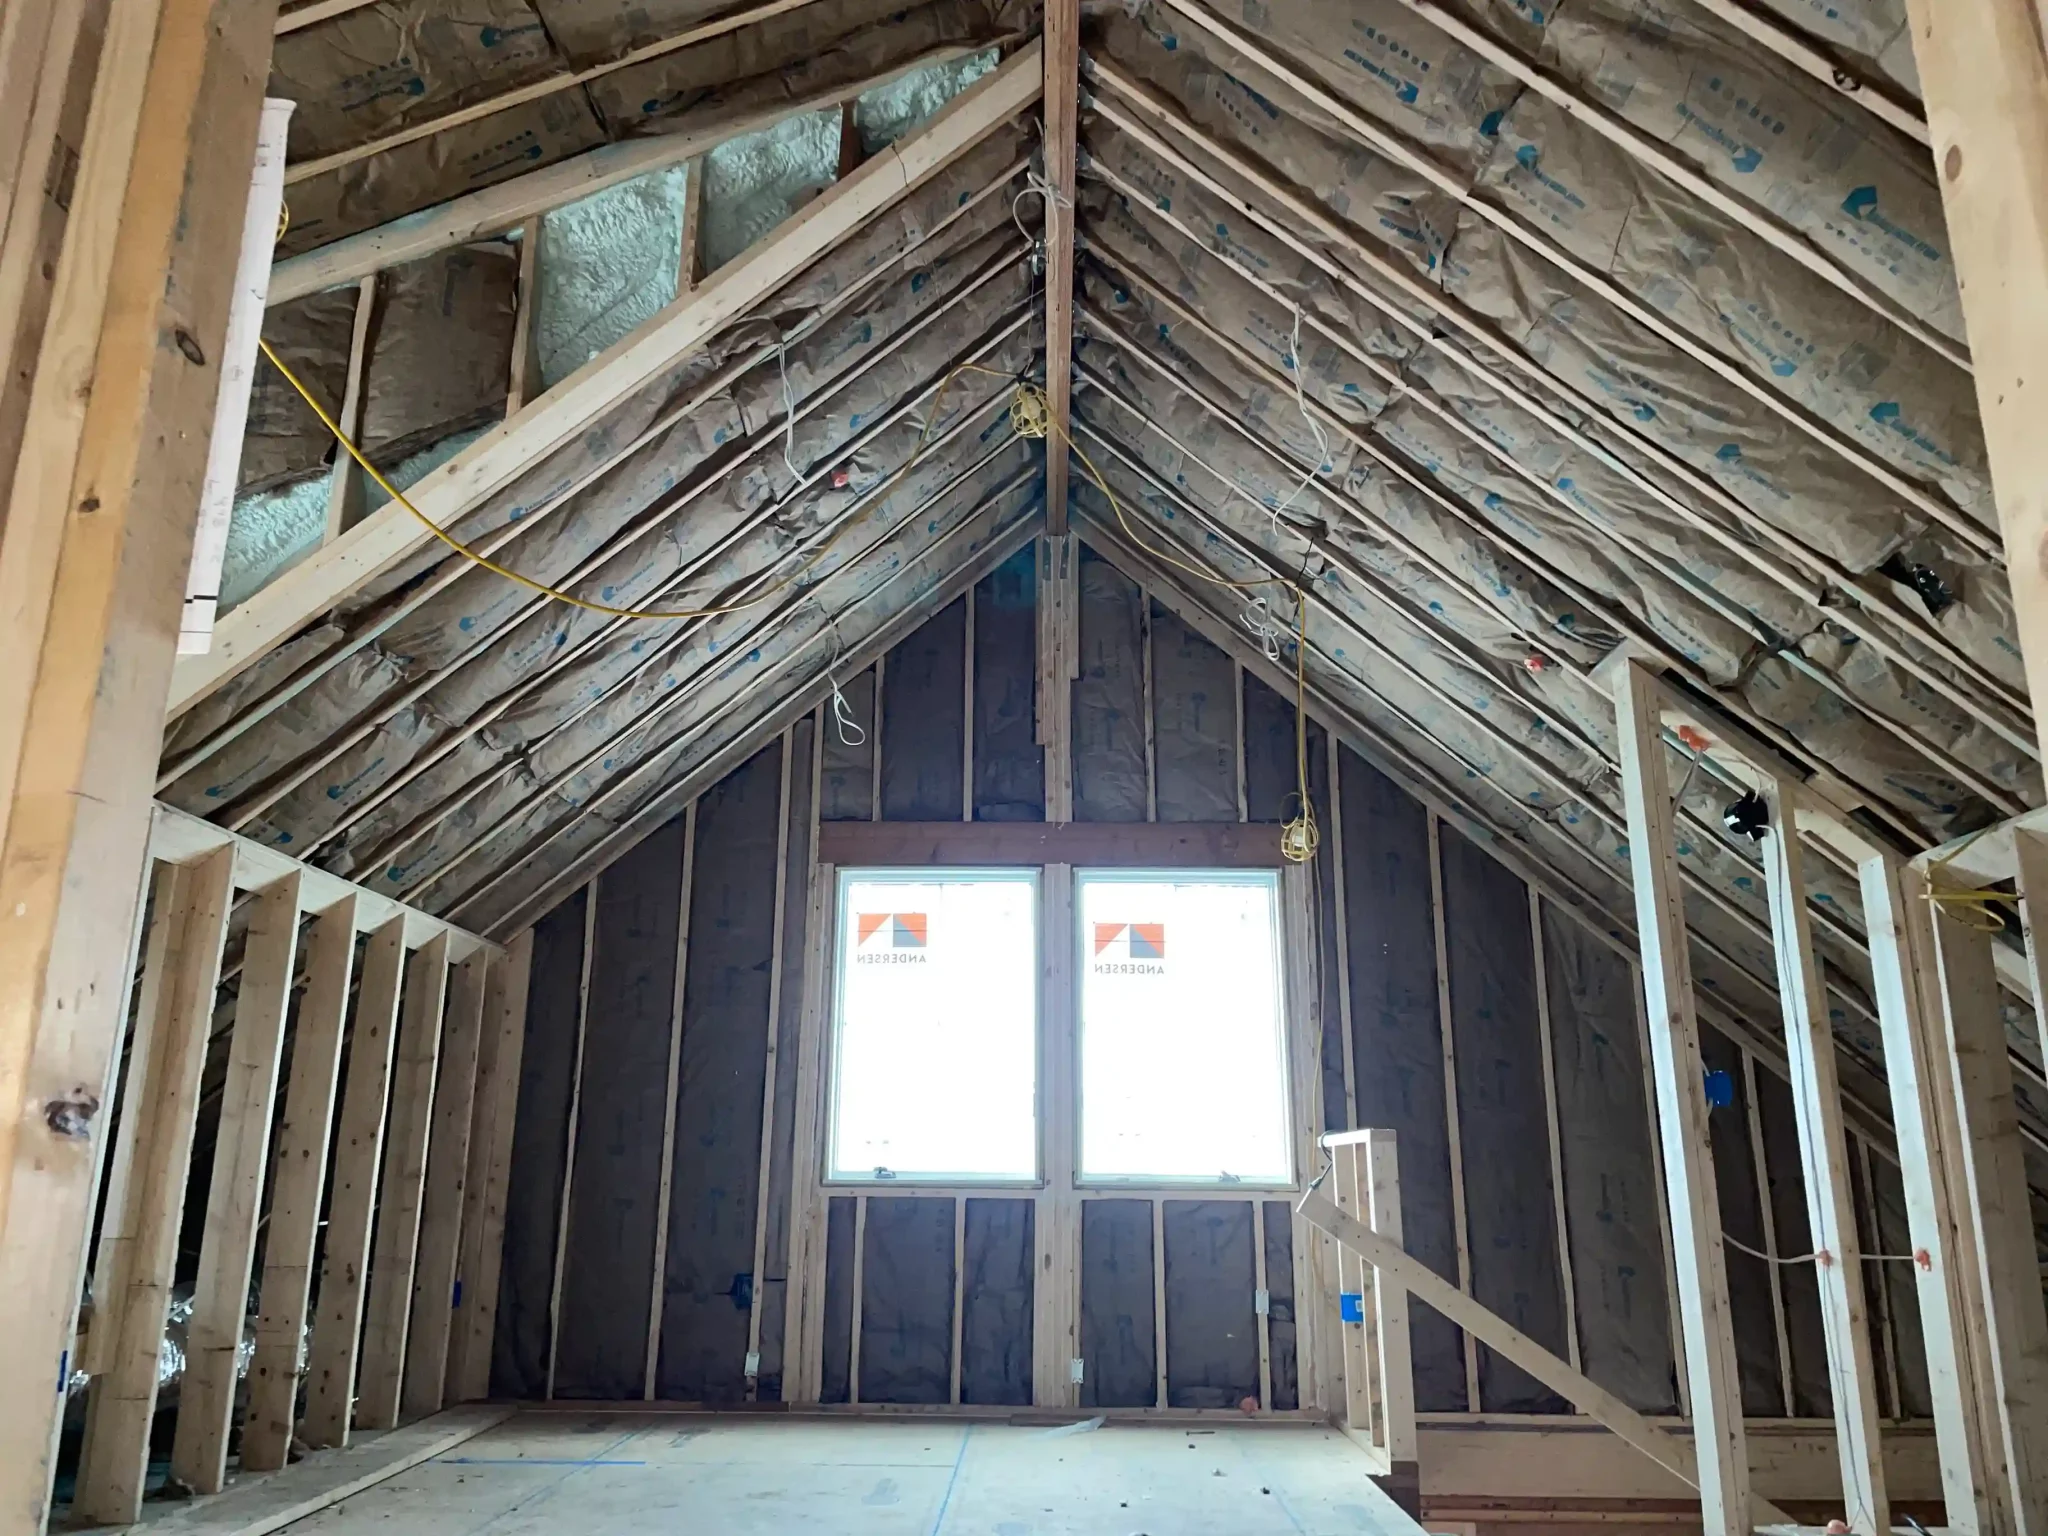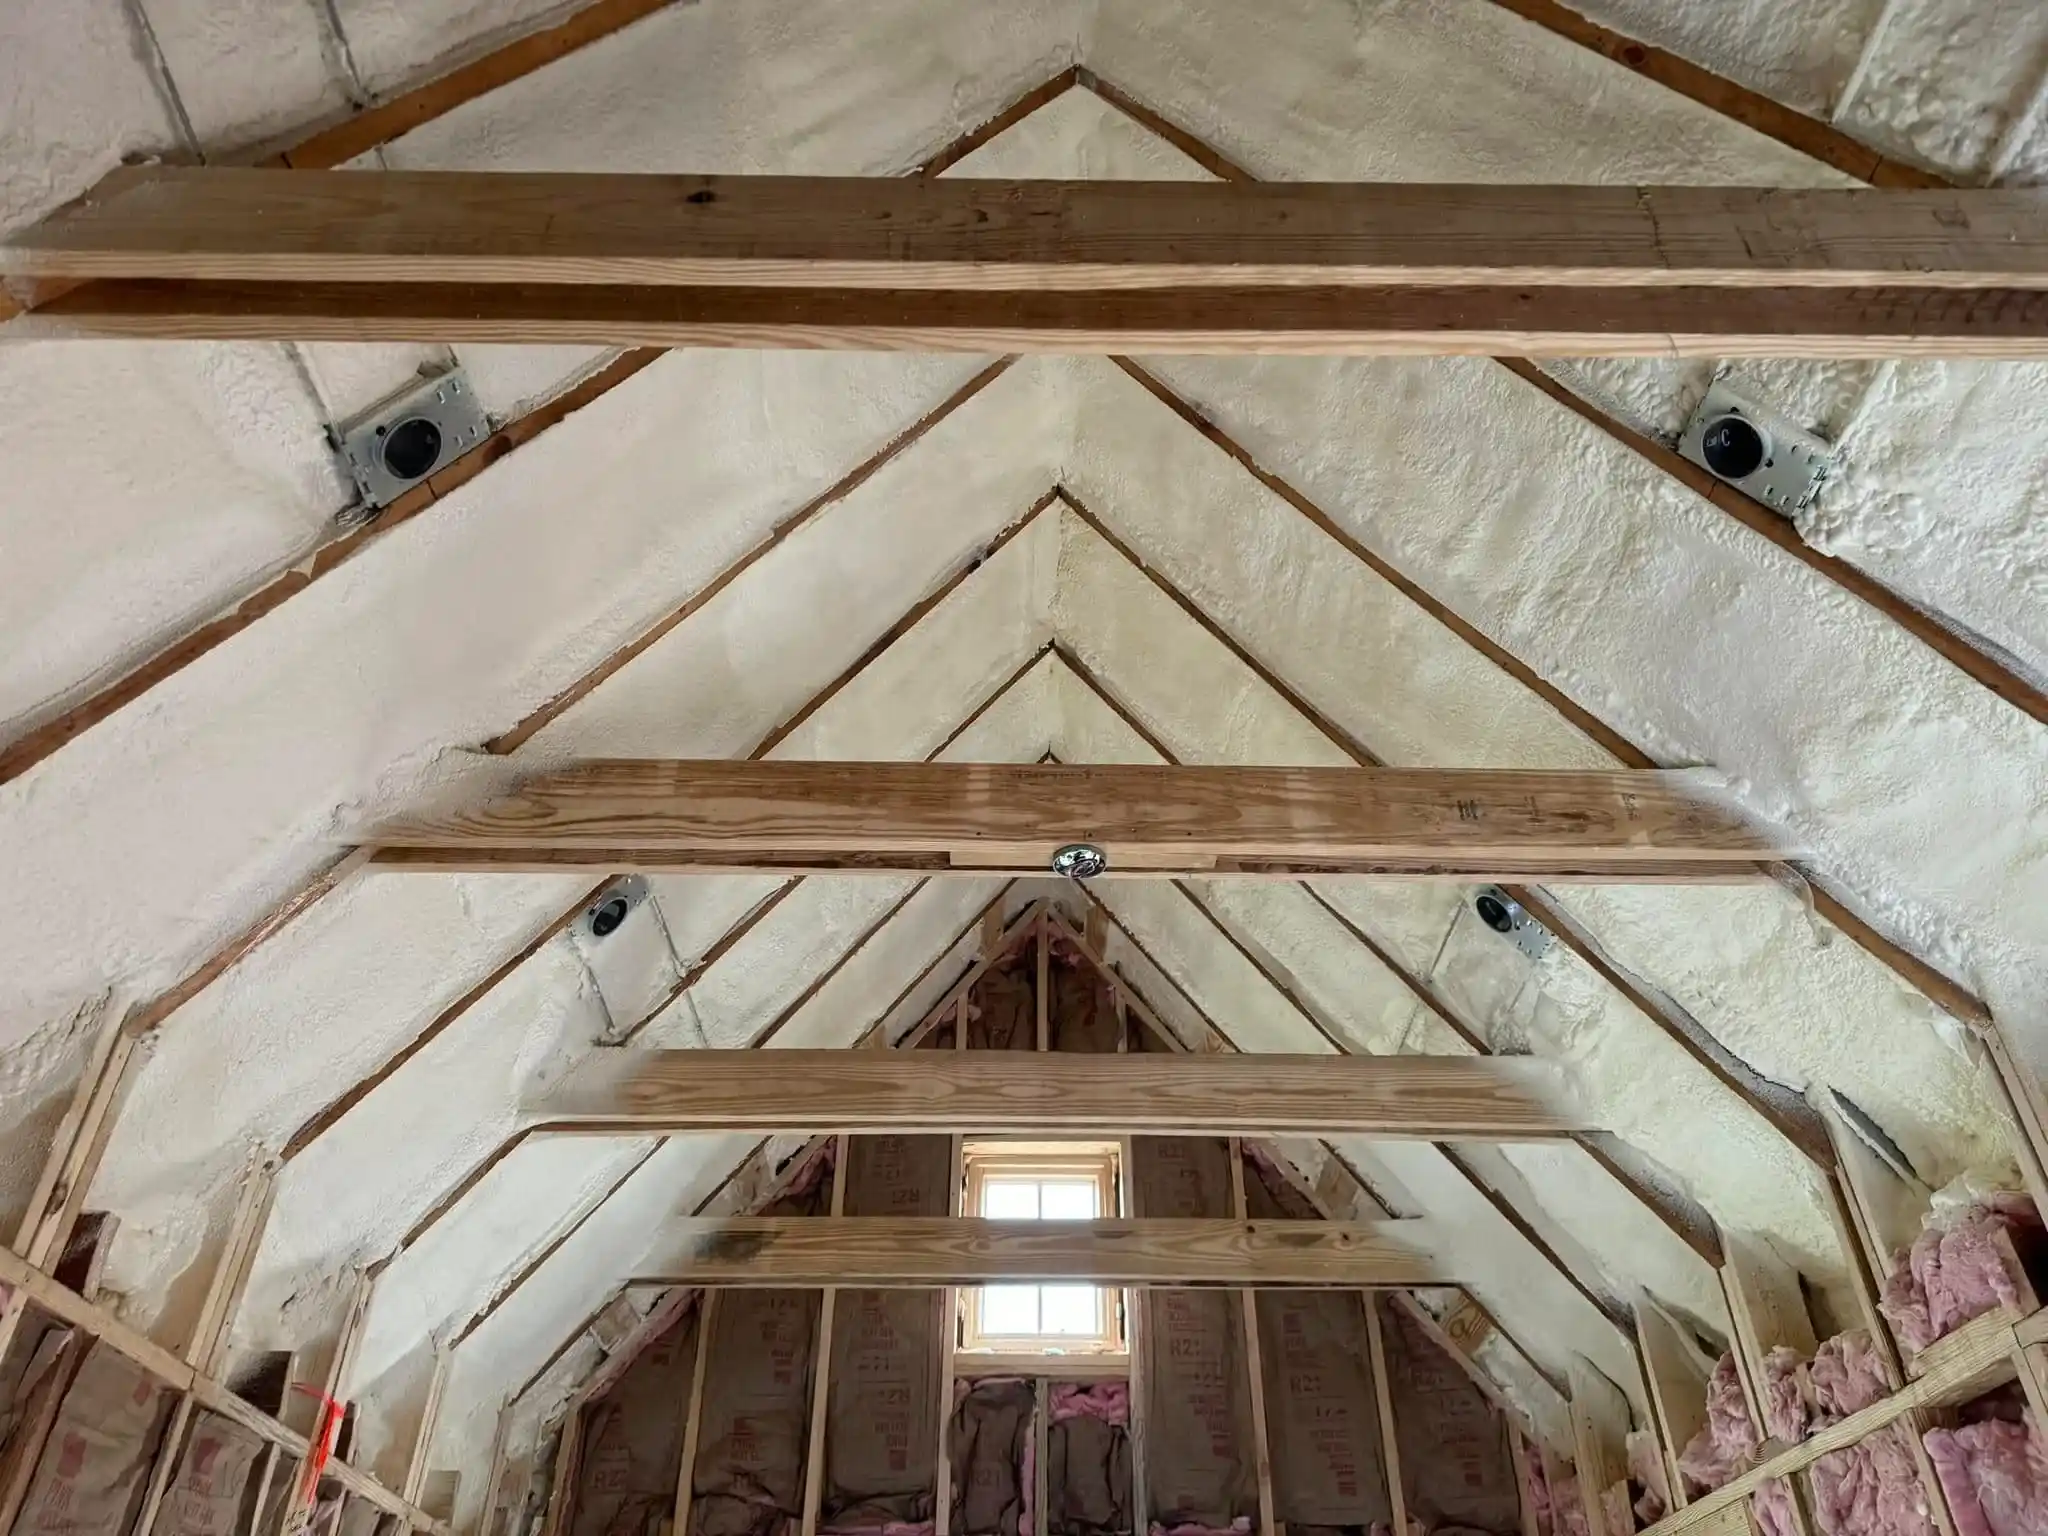
What Happens When Traditional Insulation in New Carrollton, MD Leaves Air Gaps?
When traditional insulation in New Carrollton, MD develops air gaps, it stops doing the one job it was installed to…

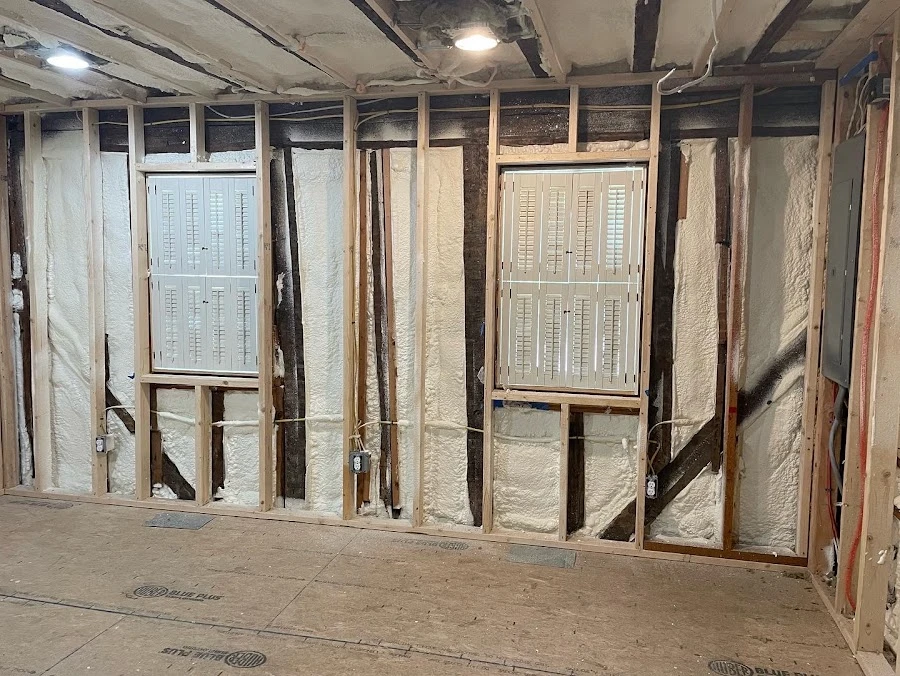
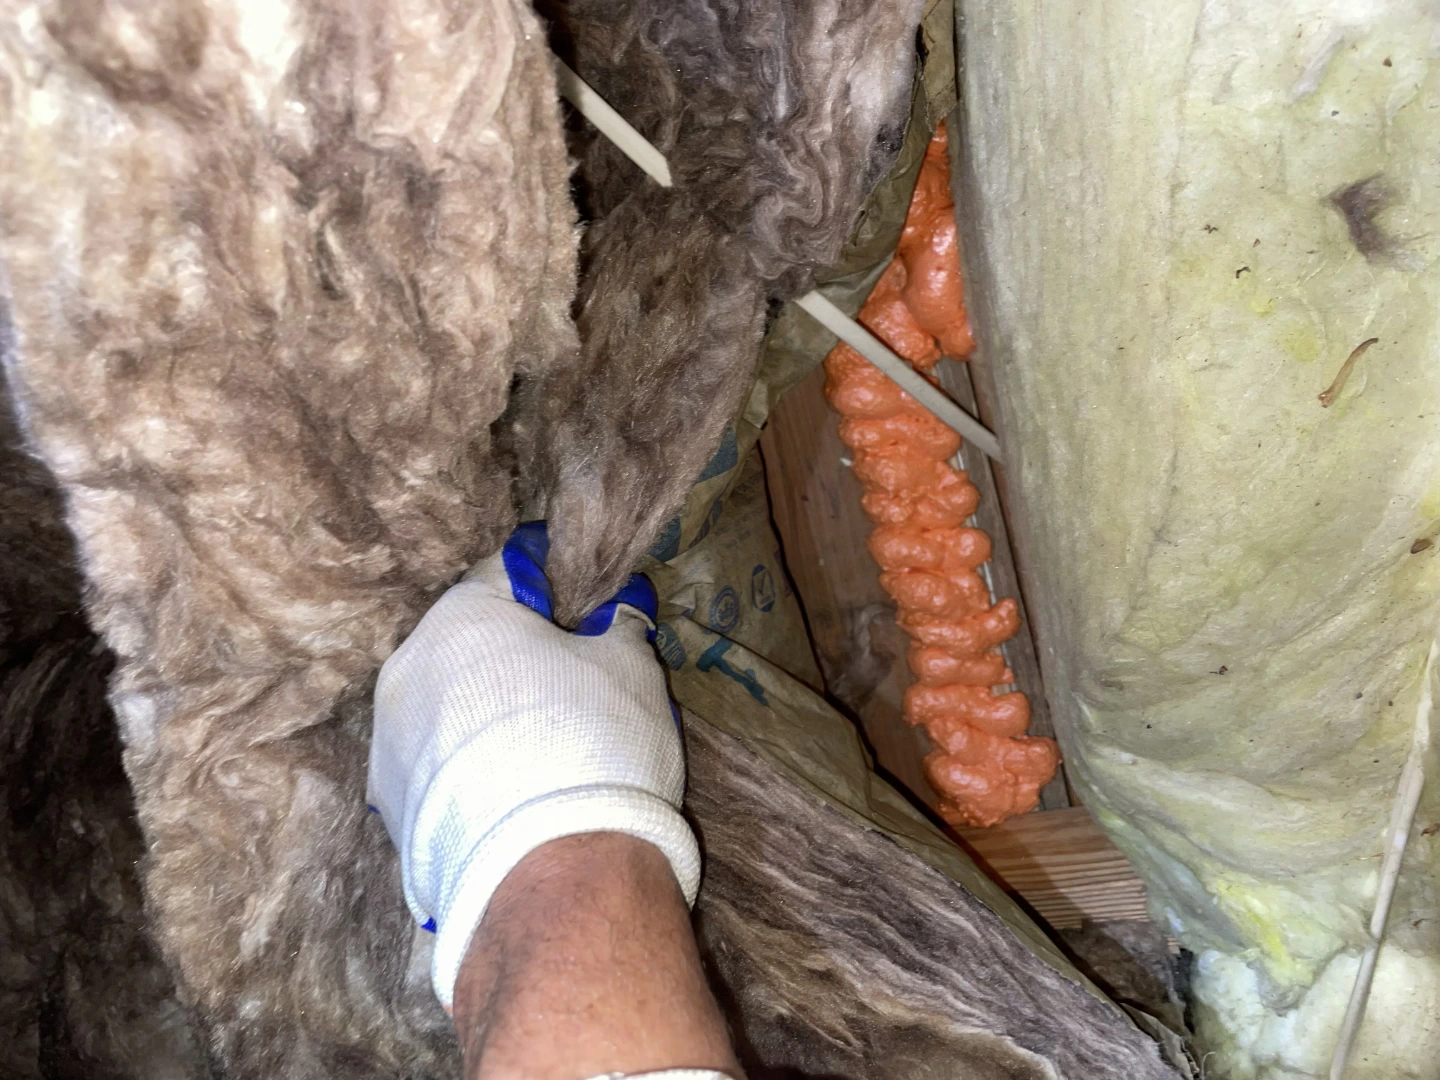
Air sealing should always come before insulation. The EPA, through its ENERGY STAR program, explicitly recommends completing attic air sealing before adding insulation, and the U.S. Department of Energy’s Building America guidelines specify that all air sealing and air barriers must be installed before insulation placement. Here is the reasoning: air sealing before insulation ensures that gaps and penetrations are addressed before the insulation is installed. Insulation slows heat transfer, but it does not stop air movement. If you add insulation over unsealed gaps and penetrations, conditioned air still escapes through cracks, and outdoor air still infiltrates. The insulation gets bypassed entirely, which means you are paying for material that never performs as intended.
The order matters because these two measures address completely different problems with different physics. Air leaks are about air movement; insulation is about heat conduction. Treating one without the other leaves roughly half the problem on the table. The EPA estimates that homeowners can save an average of 15% on heating and cooling costs, or about 11% on total energy costs, by combining both Seal and Insulate with ENERGY STAR. Nine out of ten homes in the U.S. are under-insulated according to ENERGY STAR, and nearly all of them have significant air leaks. Addressing both, in the right sequence, delivers the highest return on investment.
Air sealing closes the unwanted pathways where conditioned indoor air escapes and unconditioned outdoor air enters. These leaks exist at plumbing penetrations, electrical wiring holes, recessed light fixtures, duct chases, dropped soffits, chimney and flue openings, attic hatches, and wall-ceiling intersections.
Think of air sealing as closing the front door on a cold day. No matter how thick your coat is, if the door is open, the coat cannot do its job. In building science terms, the building envelope acts as that door, and air sealing makes sure it stays shut.
The DOE’s Home Improvement Expert checklist for attic air sealing specifies sealing all gaps, cracks, seams, and penetrations between conditioned and unconditioned space with appropriate sealants, caulk, spray foam, or rigid blocking material. The checklist explicitly states that fibrous insulation is not an air barrier and shall not be used for air sealing purposes.
Common materials used in air sealing include:
Insulation reduces conductive heat transfer through your home’s walls, attic floor, basement ceiling, and other assemblies. It works by trapping pockets of air within its material to slow down heat movement. The effectiveness is measured in R-value, which indicates resistance to heat flow, while air sealing solutions can address the separate issue of unwanted airflow through gaps and penetrations.
Insulation types commonly used in residential work include fiberglass batts, blown-in cellulose, blown-in fiberglass, mineral wool, spray foam (open-cell and closed-cell), and rigid foam boards. Each has different R-values per inch, different air sealing properties, and different applications.
Where insulation falls short is in stopping air movement. Air moves through fibrous insulation by convection. If there is a gap at the bottom of a wall cavity where air can enter and a gap at the top where it can exit, warm indoor air will rise through the insulation and escape, bypassing the thermal resistance entirely. This is why the DOE checklist places air sealing as a prerequisite step, not an optional add-on. For Annapolis homeowners, understanding why air sealing matters can help prevent these performance issues.
| Factor | Air Sealing | Insulation |
|---|---|---|
| Primary function | Stops air movement through the building envelope | Slows conductive heat transfer |
| Materials | Caulk, spray foam, rigid foam board, weatherstripping | Fiberglass batts, cellulose, mineral wool, spray foam, rigid foam |
| Problem addressed | Drafts, uneven temperatures, moisture infiltration, ice dams | Heat loss through walls and ceilings, cold floors, high energy bills |
| Installation order | First | Second |
| Can it replace the other? | No, does not provide adequate thermal resistance | No, fibrous types do not block airflow |
| DIY feasibility | Small gaps and penetrations are manageable; full envelope sealing is difficult | Blown-in and batt installation are accessible; spray foam requires professional equipment |
| Impact on comfort | Immediate reduction in drafts and temperature swings | Gradual improvement in temperature retention |
| Savings potential | Significant when targeting largest leaks | Significant when combined with prior air sealing |
The DOE Building America checklist organizes the installation process into two distinct phases. The first phase covers “Attic Air Sealing and Air Barriers Before Insulation,” and the second phase covers “Attic Insulation.” This is not arbitrary sequencing. It reflects fundamental building science.
When you insulate without sealing first, several problems occur:
ENERGY STAR’s project guidance echoes this directly. On their Attic Air Sealing Project page, the EPA states that you should complete the attic insulation project after completing air sealing. On their Assess the Level of Opportunity page, the guidance is even more direct: “Always do attic air sealing before adding insulation.”
Not all areas of the home offer equal returns. ENERGY STAR rates each zone by its savings and comfort potential:
| Priority Area | Savings Rating | Reason |
|---|---|---|
| Attic | 4 out of 5 stars | Largest gaps, most accessible, highest heat loss in most homes |
| Basement / Crawlspace | 3 out of 5 stars | Controls drafts from below, addresses moisture and pest entry |
| Ducts | 2 out of 5 stars | Significant if ducts are in unconditioned spaces like attics |
| Doors / Windows / Walls | 2 out of 5 stars | Noticeable drafts but smaller overall area than attic or basement |
The recommendation is to start with the attic, then move to the basement or crawlspace. Within the attic, seal the largest openings first, such as dropped soffits, open stud cavities behind kneewalls, chimney and flue gaps, and duct chases. Smaller penetrations like wiring holes and plumbing vents come next.
| Scenario | Property Type | Recommended Approach | Why the Order Matters |
|---|---|---|---|
| 1990s colonial with drafty upstairs bedrooms and high heating bills | Single-family, 2-story | Full attic air sealing first, then blown-in cellulose over attic floor to R-49 | Unsealed top plates and recessed lights are driving the drafts; insulating without sealing would bury those leaks and reduce insulation effectiveness |
| 1960s ranch with ice dams forming along the roof edge every winter | Single-family, 1-story | Attic air sealing targeting all top-plate gaps, duct chases, and penetrations, followed by attic insulation upgrade | Warm indoor air leaking into the attic melts snow, which refreezes at the eaves; insulation alone will not stop the air leakage causing ice dams |
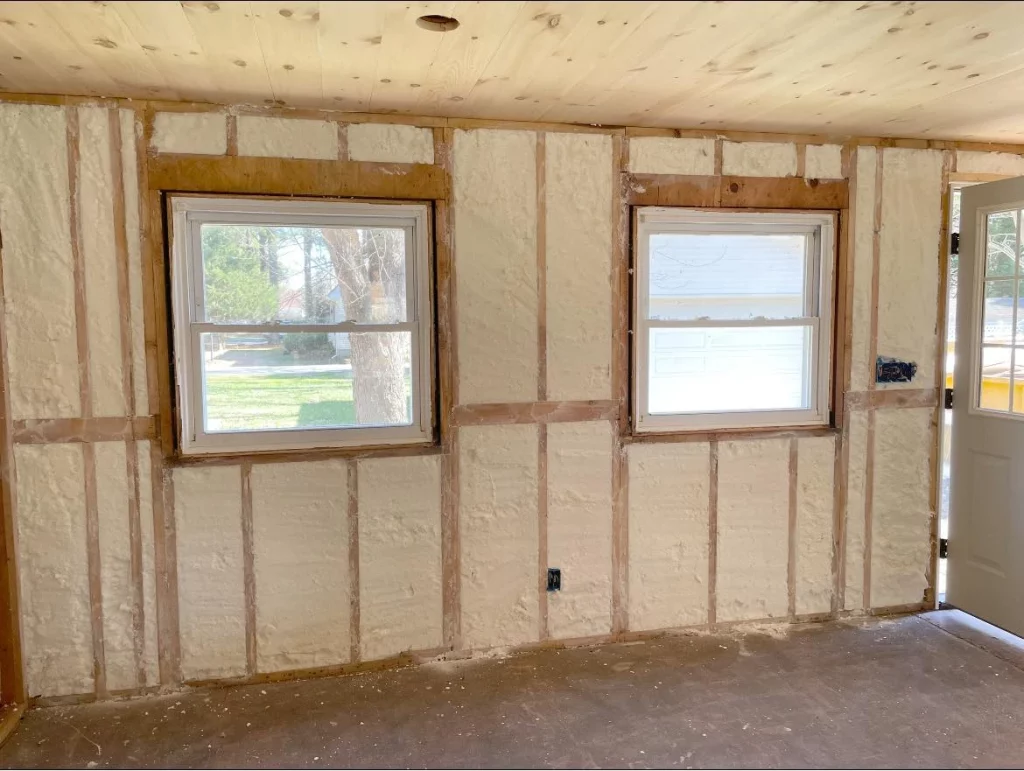
| New construction build with spray foam in wall cavities | New build | Air sealing during framing (caulk and foam at all penetrations), then cavity insulation, then attic insulation | Tightening the envelope during construction before cavities are closed is the most efficient sequence; correcting air leaks after drywall goes up is far more difficult and expensive |
| Renovation project with open walls during a kitchen remodel | Single-family, partial gut | Seal all penetrations and framing gaps while walls are open, insulate cavities, then address attic | Open walls provide rare access to wall-ceiling junctions and plumbing penetrations that would otherwise be hidden behind drywall |
| Older home with knob-and-tube wiring in the attic | Single-family, pre-1930s | Address wiring replacement first, then air seal, then insulate | Insulation cannot be installed over active knob-and-tube wiring per safety requirements; this is a prerequisite condition before any air sealing or insulation work begins |
Several variables determine how aggressively to pursue air sealing versus insulation, and in what sequence:
Air sealing first is the right approach for:
Air sealing first may NOT be the best standalone priority for:
At Peninsula Insulation, LLC, we evaluate your entire building envelope before recommending any work. Our team identifies exactly where your home is losing conditioned air and determines the right sequence of air sealing and insulation to maximize comfort and efficiency. Every project we complete follows the DOE’s Building America installation standards, so your air sealing is done first, and your insulation performs at full capacity.
Call us at (410) 770-2624 or email wil@mdsprayfoam.net to get started with a thorough, no-surprises assessment of your home’s sealing and insulation needs.
In practice, yes, they can be completed in the same project visit, but the air sealing work must physically precede the insulation installation. Our crew seals all penetrations, top plates, and gaps first, then installs insulation over the now-sealed attic floor.
The insulation will be installed over active air leaks, which means conditioned air continues to escape around it. Performance suffers, moisture can accumulate inside the insulation, and fixing the leaks later requires removing and replacing insulation material.
Closed-cell spray foam acts as both an air barrier and insulation in one step when applied at proper thickness. Open-cell spray foam provides some air sealing but may need supplementary caulking at large penetrations. Fibrous insulations like fiberglass and cellulose never serve as air barriers.
Yes. Sealing your home reduces uncontrolled air infiltration, which can trap indoor pollutants like radon and volatile organic compounds. The EPA recommends testing radon levels after tightening the envelope and adding mechanical ventilation if needed to maintain safe air quality.
Look for visible signs like dirty insulation in the attic, which indicates air movement carrying dust through the material. Drafty rooms, uneven temperatures between floors, ice dams in winter, and high energy bills despite adequate insulation levels all point to air leakage as the primary problem.