What Materials Are Commonly Used for Crawl Space Encapsulation in 2026, and Why Do They Matter?
Most crawl space encapsulation material choices in 2026 fall into five groups: a polyethylene vapor barrier over the soil and…

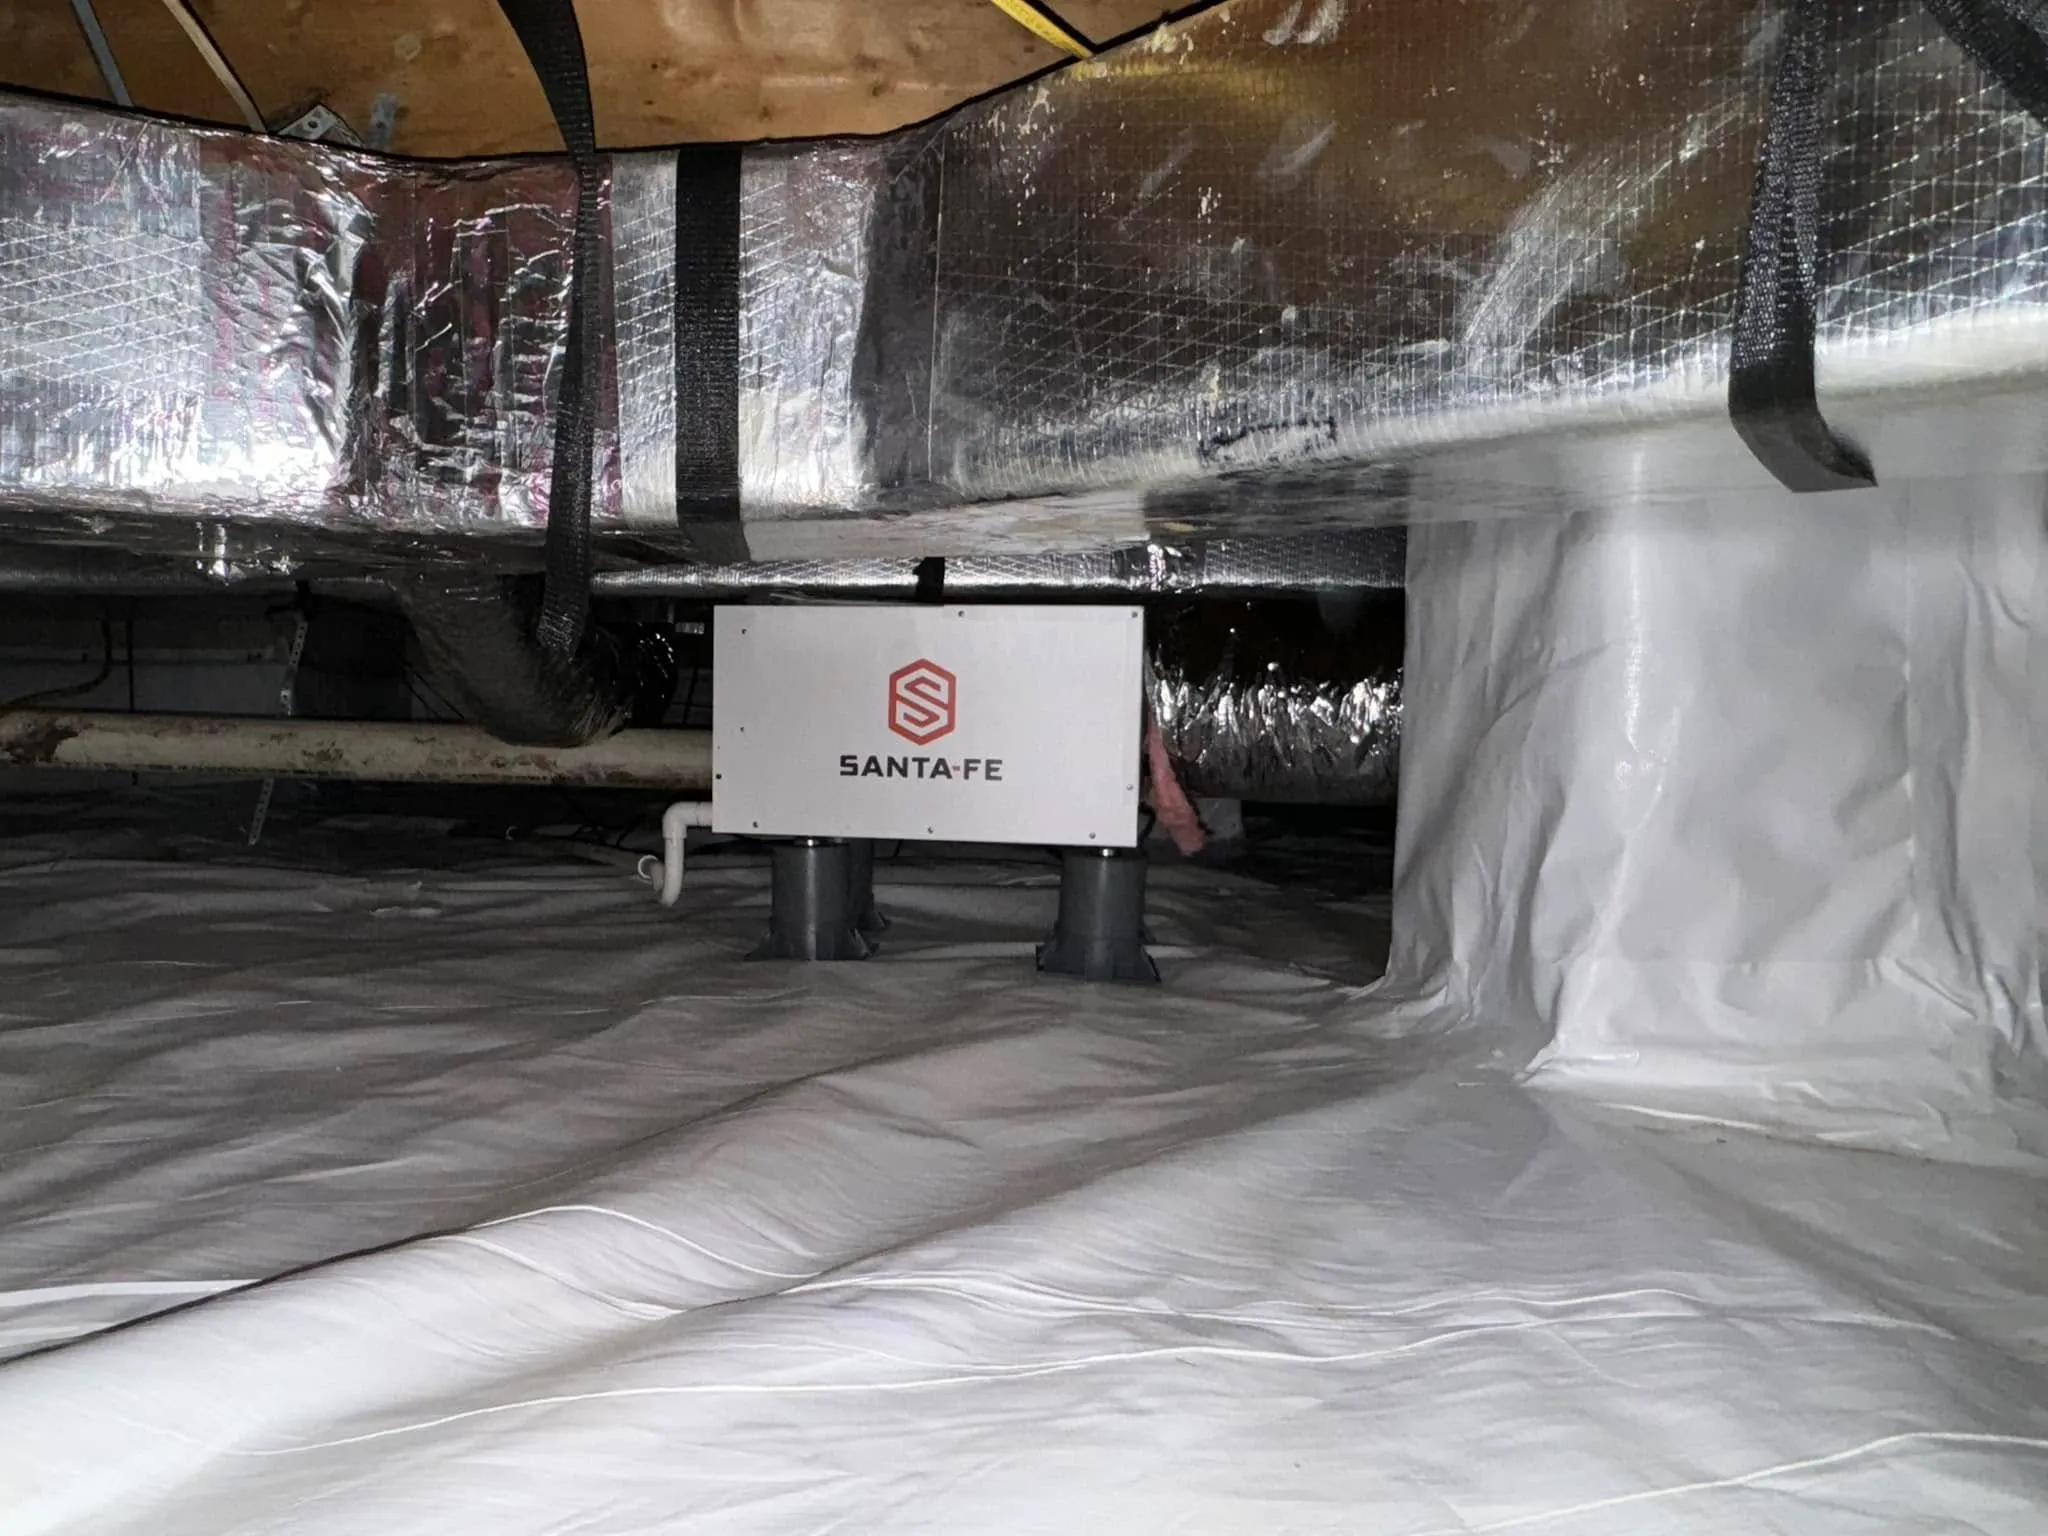
Crawl space encapsulation is one of the most impactful upgrades a homeowner can make to an existing property, and the changes start almost immediately. After a professional installation, moisture levels beneath the home drop, the air quality inside the living spaces improves, and the HVAC system operates under less strain. The process involves sealing the crawl space with a vapor barrier on the ground and walls, closing off foundation vents, adding insulation, and often installing a dehumidifier or conditioned air supply. Once complete, the crawl space shifts from an open, humid zone connected to the living area to a controlled, semi-conditioned space that protects the structure above. The results depend on the quality of the installation, the home’s climate zone, and whether existing moisture damage was addressed first.
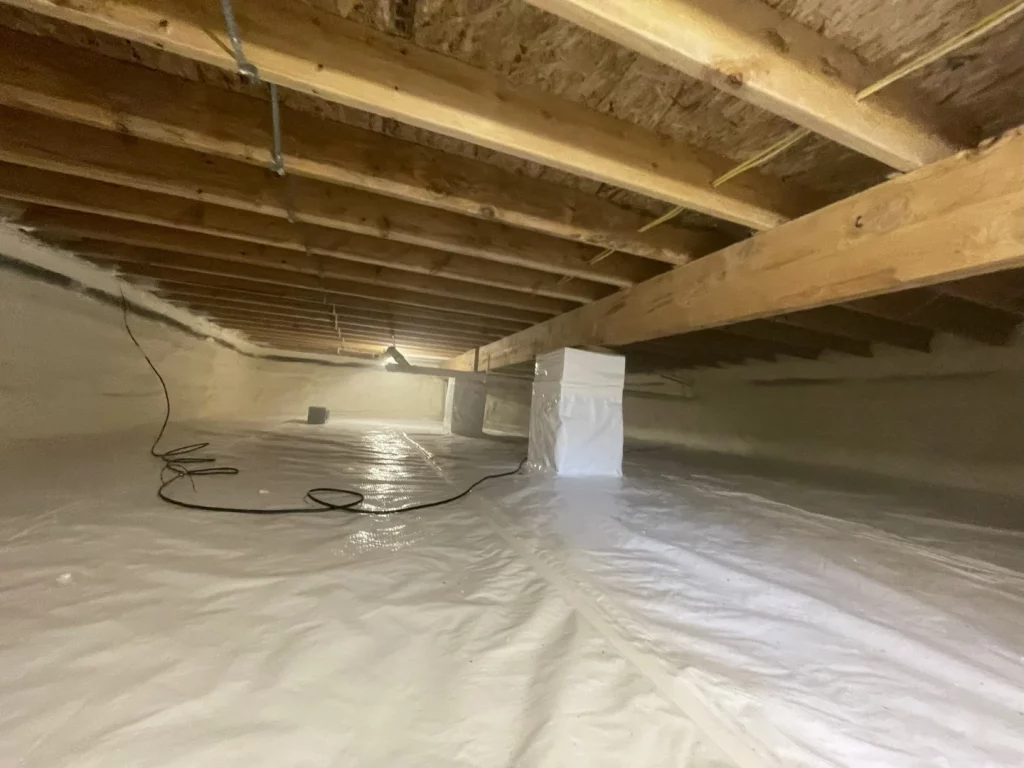
Encapsulation transforms the crawl space from a vented, unconditioned zone to a sealed, controlled environment. The process involves several physical changes that work together:
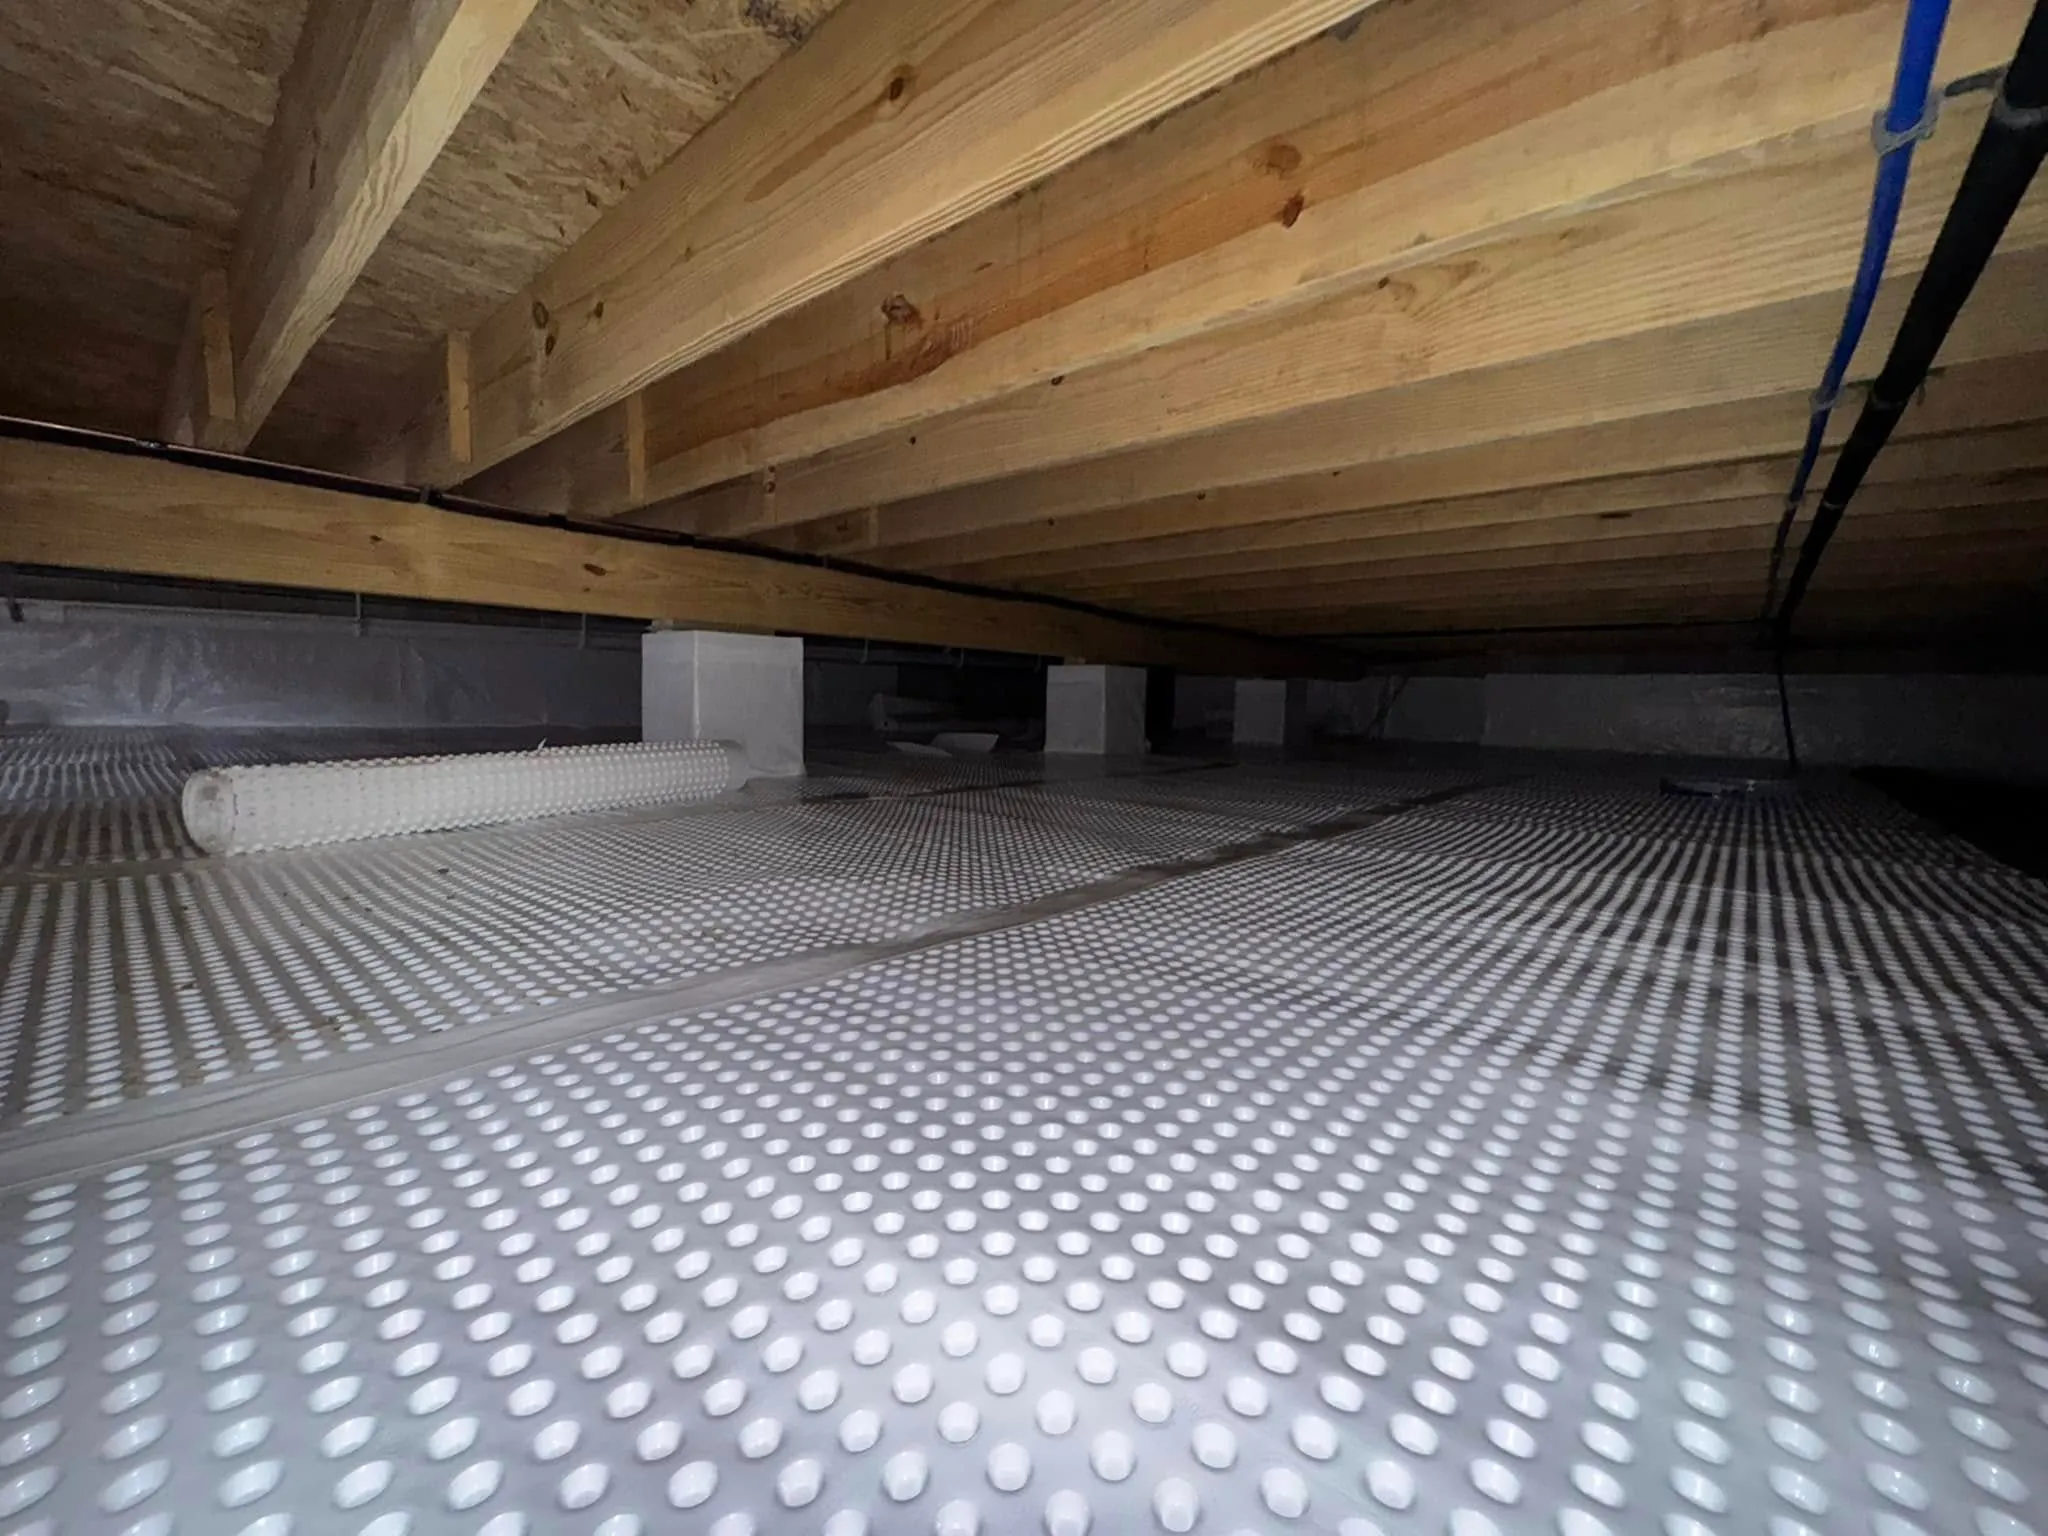
Vapor barrier installation covers 100% of the ground and extends up the perimeter walls, typically using a minimum 6-mil polyethylene liner with sealed seams. All seams are sealed with fiberglass mesh tape and mastic to prevent water vapor from evaporating through the soil. The Building America Solution Center specifies that this liner should lap up the walls to within 4 inches of the top of the foundation walls and overlap at seams by at least 12 inches.
Foundation vent sealing is the next major change. Existing wall vents are filled with rigid foam cut to fit, then sealed with spray foam or caulk. This stops the flow of humid outside air from entering the space during warm months.
Air sealing of penetrations closes gaps around plumbing, electrical wiring, and ductwork that pass through the foundation wall or subfloor. This step prevents both air leaks and pest entry points.
Insulation is added to the perimeter walls (rather than the floor above), which keeps the crawl space within the building’s thermal envelope. Rigid foam board is the preferred material because of its low permeance to water vapor and high R-value per inch.
A mechanical drying system provides ongoing moisture control. This is typically either a permanently installed dehumidifier or a conditioned air supply duct from the home’s HVAC system, depending on the specific design.
Within the first few days after encapsulation, many homeowners notice a difference in the air inside their home. Musty or earthy odors that previously came from below diminish as the sealed vapor barrier stops soil gas evaporation and the stack effect no longer pulls crawl space air upward. During the heating season, floors feel noticeably warmer because the crawl space is now insulated along the walls rather than vented to the outside.
In some cases, homeowners may notice cosmetic changes as the home adjusts to the new moisture conditions. Hardwood floors that were swollen from excess humidity may show small gaps as they dry. This is a normal part of the acclimation process and typically stabilizes within a few weeks as the structure reaches a new moisture equilibrium. In rare cases, a strong odor may develop temporarily as dormant mold in the crawl space dies off from the reduced moisture levels.
A quality installation includes a humidity monitor that allows the homeowner to track conditions from inside the house. During the first month, our team typically follows up to verify that the dehumidifier or supply air system is maintaining relative humidity below the 65% target and that no water intrusion has occurred.
The most dramatic and measurable change after encapsulation is the reduction in crawl space humidity. According to a multi-year DOE study conducted by Advanced Energy, sealed crawl spaces maintained relative humidity below 65% during the entire study period, while vented crawl spaces in the same development exceeded 80% for the majority of the spring and summer months. During the wettest summer on record in the study area, moisture control through air sealing helped distinguish the performance of sealed spaces, with vented crawl spaces spending 92% of the time above 70% relative humidity while sealed crawl spaces stayed below 70% entirely.
Wood moisture content, which directly affects structural integrity and mold risk, also stabilizes. The DOE study found that framing lumber in sealed crawl spaces maintained average moisture content below 12%, a threshold below which mold growth is unlikely and wood is less susceptible to wood-boring insects. In contrast, vented crawl spaces showed wood moisture content that regularly climbed above 15% during humid months.
The same DOE field study measured energy savings between 15% and 18% on annual heating and cooling costs, depending on whether insulation was placed at the floor or on the perimeter walls. Floor-insulated sealed crawl spaces saved approximately 15%, while wall-insulated sealed crawl spaces saved approximately 18% compared to vented crawl spaces with floor insulation. These savings come from reduced duct losses, better HVAC operating conditions, and the elimination of moisture-driven cooling loads.
| Measurement | Vented Crawl Space | Sealed Crawl Space | Difference |
|---|---|---|---|
| Summer humidity above 80% | 70% of the time | 0% of the time | Eliminated |
| Summer humidity above 70% | 92% of the time | 0% of the time | Eliminated |
| Wood moisture content | Regularly above 15% | Consistently below 12% | Safer range |
| Annual HVAC energy use | Baseline | 15% to 18% reduction | Significant savings |
| Mold spore counts | Significantly higher | Markedly lower | Improved air quality |
Wood rot requires sustained moisture content above 28%, while surface mold growth begins at relative humidity above 70%. By keeping the crawl space consistently dry, encapsulation eliminates the conditions that cause both problems. The sealed environment prevents condensation from forming on ductwork, plumbing pipes, and framing, which is the primary failure mechanism in vented crawl spaces. When warm, humid outside air enters a cool vented crawl space during summer, the water vapor condenses on cooler surfaces, saturating the wood and insulation above.
Ductwork in a vented crawl space operates in the worst possible environment, especially during summer. Supply air ducts at 55 to 65 degrees Fahrenheit sit in air that may be 85 degrees with high humidity, causing condensation on duct surfaces and reducing the efficiency of the cooling system. After encapsulation, ducts operate in a drier, more temperate space, which reduces losses and improves delivered capacity to the living areas above.
A properly sealed crawl space provides an ideal substrate for radon mitigation. The continuous vapor barrier and air sealing make it easier to implement sub-membrane depressurization, the same technique used in basements and slab foundations. According to Wikipedia’s crawl space entry, encapsulation with adequate sealing can help with radon mitigation by controlling the passage of air and soil gases from the crawl space to the living environment.
Encapsulation does not fix existing structural damage. If wood rot has already compromised floor joists or sill plates, those repairs must be completed before or during the encapsulation process. Encapsulation also does not resolve active water intrusion from plumbing leaks, poor exterior drainage, or high water tables. In fact, sealing the crawl space without addressing these issues first can trap moisture and accelerate damage.
Encapsulation does not eliminate the need for proper exterior water management. Gutters, downspouts, and proper grading away from the foundation remain essential for directing water away from the crawl space perimeter.
A well-executed encapsulation installation shows several hallmarks. The vapor barrier should be a continuous liner with all seams sealed, not just overlaid. There should be no exposed earth anywhere in the crawl space. The perimeter walls should be covered, with a visible termite inspection strip of at least 3 inches of bare masonry at the top. All foundation vents should be sealed with rigid foam and spray foam. The access door should be weather-stripped and insulated.
A quality installer walks through the design choices, explains the drying strategy, and sets clear expectations for the first weeks after installation. They should discuss whether a dehumidifier or supply air approach is better for the specific home, address any combustion safety concerns if gas appliances are present, and coordinate with pest management professionals to ensure inspection access is maintained.
The best installations include monitoring equipment and a follow-up schedule to verify that humidity targets are being met. A provider who offers a warranty tied to specific performance metrics, such as guaranteeing relative humidity will not exceed 70% for more than 7 consecutive days, demonstrates confidence in their work.
| Situation | Key Consideration | Recommended Approach |
|---|---|---|
| High humidity, vented crawl space | Strongest candidate for encapsulation | Full encapsulation with wall insulation and dehumidifier |
| Visible mold or rot present | Must address existing damage first | Remediate mold, replace damaged wood, then encapsulate |
| Gas appliances in crawl space | Combustion safety is critical | Ensure direct-vent appliances, add combustion air piping |
| Known radon risk area | Encapsulation supports mitigation | Include sub-membrane depressurization system |
| Historic or delicate structure | Changes in moisture may affect materials | Gradual drying with monitoring, consult preservation specialist |
| Flood-prone location | Must meet FEMA/NFIP requirements | Include compliant flood vents in the sealed wall |
Peninsula Insulation, LLC specializes in crawl space encapsulation for existing properties, bringing professional assessment, precise installation, and long-term performance verification to every project. Our team evaluates your crawl space conditions, addresses existing moisture issues, and designs a sealed system tailored to your home’s specific needs. Whether you are dealing with persistent humidity, musty odors, or high energy bills, we can help you understand your options and deliver results you can measure.
Request a Quote | Schedule a Crawl Space Assessment
Call us at (410) 770-2624 or email wil@mdsprayfoam.net to get started.
Most encapsulation projects on existing homes take one to three days, depending on the size of the crawl space, the extent of existing damage, and whether drainage improvements or structural repairs are needed before sealing.
Encapsulation actually improves ductwork performance by moving it into a controlled environment. However, any existing duct leakage should be sealed during the process, and if gas appliances are present, combustion safety must be evaluated before closing the space.
Yes. While the sealed environment reduces most risks, periodic inspections are still recommended to check for plumbing leaks, verify the vapor barrier is intact, and confirm the dehumidifier or supply air system is functioning properly.
Standing water must be resolved before encapsulation. Sealing a crawl space with active water intrusion will trap moisture and create worse conditions. Proper grading, drainage, or a sump pump installation must come first.
Proper encapsulation includes a 3-inch bare inspection strip at the top of the foundation wall, maintaining access for pest management professionals. Our team coordinates with pest control providers to ensure treatments and warranties remain intact.